Getting Started with Pi Hole: Installation/Configuration
⚠️ Deprecation Notice:
This guide covers Pi-hole v5 and is no longer current. Pi-hole v6 has been released with significant changes to installation, configuration, and features.
I’ll be publishing an updated Pi-hole v6 guide soon, but until then, this post can still serve as a reference if you’re running v5.
TL;DR: Pi-hole is a DNS-based ad blocker for your entire network. Set up a Raspberry Pi, install Pi-hole, point your router’s DNS to it, and enjoy an ad-free experience on all devices.
I was originally going to make this a quick, all-in-one guide for beginners only, but as I started writing it, I felt compelled to add more detail and to be more thorough in my steps. I kept asking myself “well what if someone asks about this?”. I decided to make this guide as foolproof as possible, made for beginners and intermediates who like to ask questions.
I made the decision I would split this guide into 2 parts:
- Basic Installation and Configuration - getting Pi Hole set up, nothing more.
- Advanced Configuration break down different types of set ups and use cases, go over settings in beginner-friendly detail.
Let’s get started!
Part 1: Installing/Configuring Pi Hole
What is Pi Hole?
Pi Hole is a network-wide DNS sinkhole. It intercepts DNS requests and will either forward the request or drop it based on blocklists and its ‘gravity’.
Also, it will make decisions if a domain appears malicious or otherwise should be blocked it will block it for you.
This means you can block ads, trackers, malicious websites, cryptominers, pornography, and much more, for any device that is connected to your network.
Why should I use Pi Hole?
Ever notice how ads follow you across different devices? Pi-hole stops that by blocking tracking scripts at the DNS level before they even reach your browser.
Block those annoying pop ups that follow you as you scroll through an article, and autoplaying ads that like to hide themselves from being muted.
If you have an IOT device, they constantly send data to remote servers, often sending unecessary telemetry data insecurely. You can block which devices can send data and which ones you would like to keep on your local network.
Network-wide parental control over all devices on your network, keep children from visiting adult or other inappropriate sites.
Some websites run JavaScript-based crypto miners without your consent, stealing your computers resources to mine crypto. Pi hole will block these for you.
What are the Benefits to Using Pi Hole?
Safer Web Browsing
- Block ads and trackers while web browsing, keeps websites from fingerprinting you.
- Granular control over what websites or domains are blocked (can be used as a parental filter).
- Cleaner website pages, no popups or redirects.
Block malicious websites
- Crypto miners, info stealers, phishers, and other known bad actors or scammy websites and domains.
Improved Network Performance
- With less domains trying to connect to your devices can improve network performance on lower bandwidth networks, it can reduce data bandwidth usage by as much as 30% on some websites.
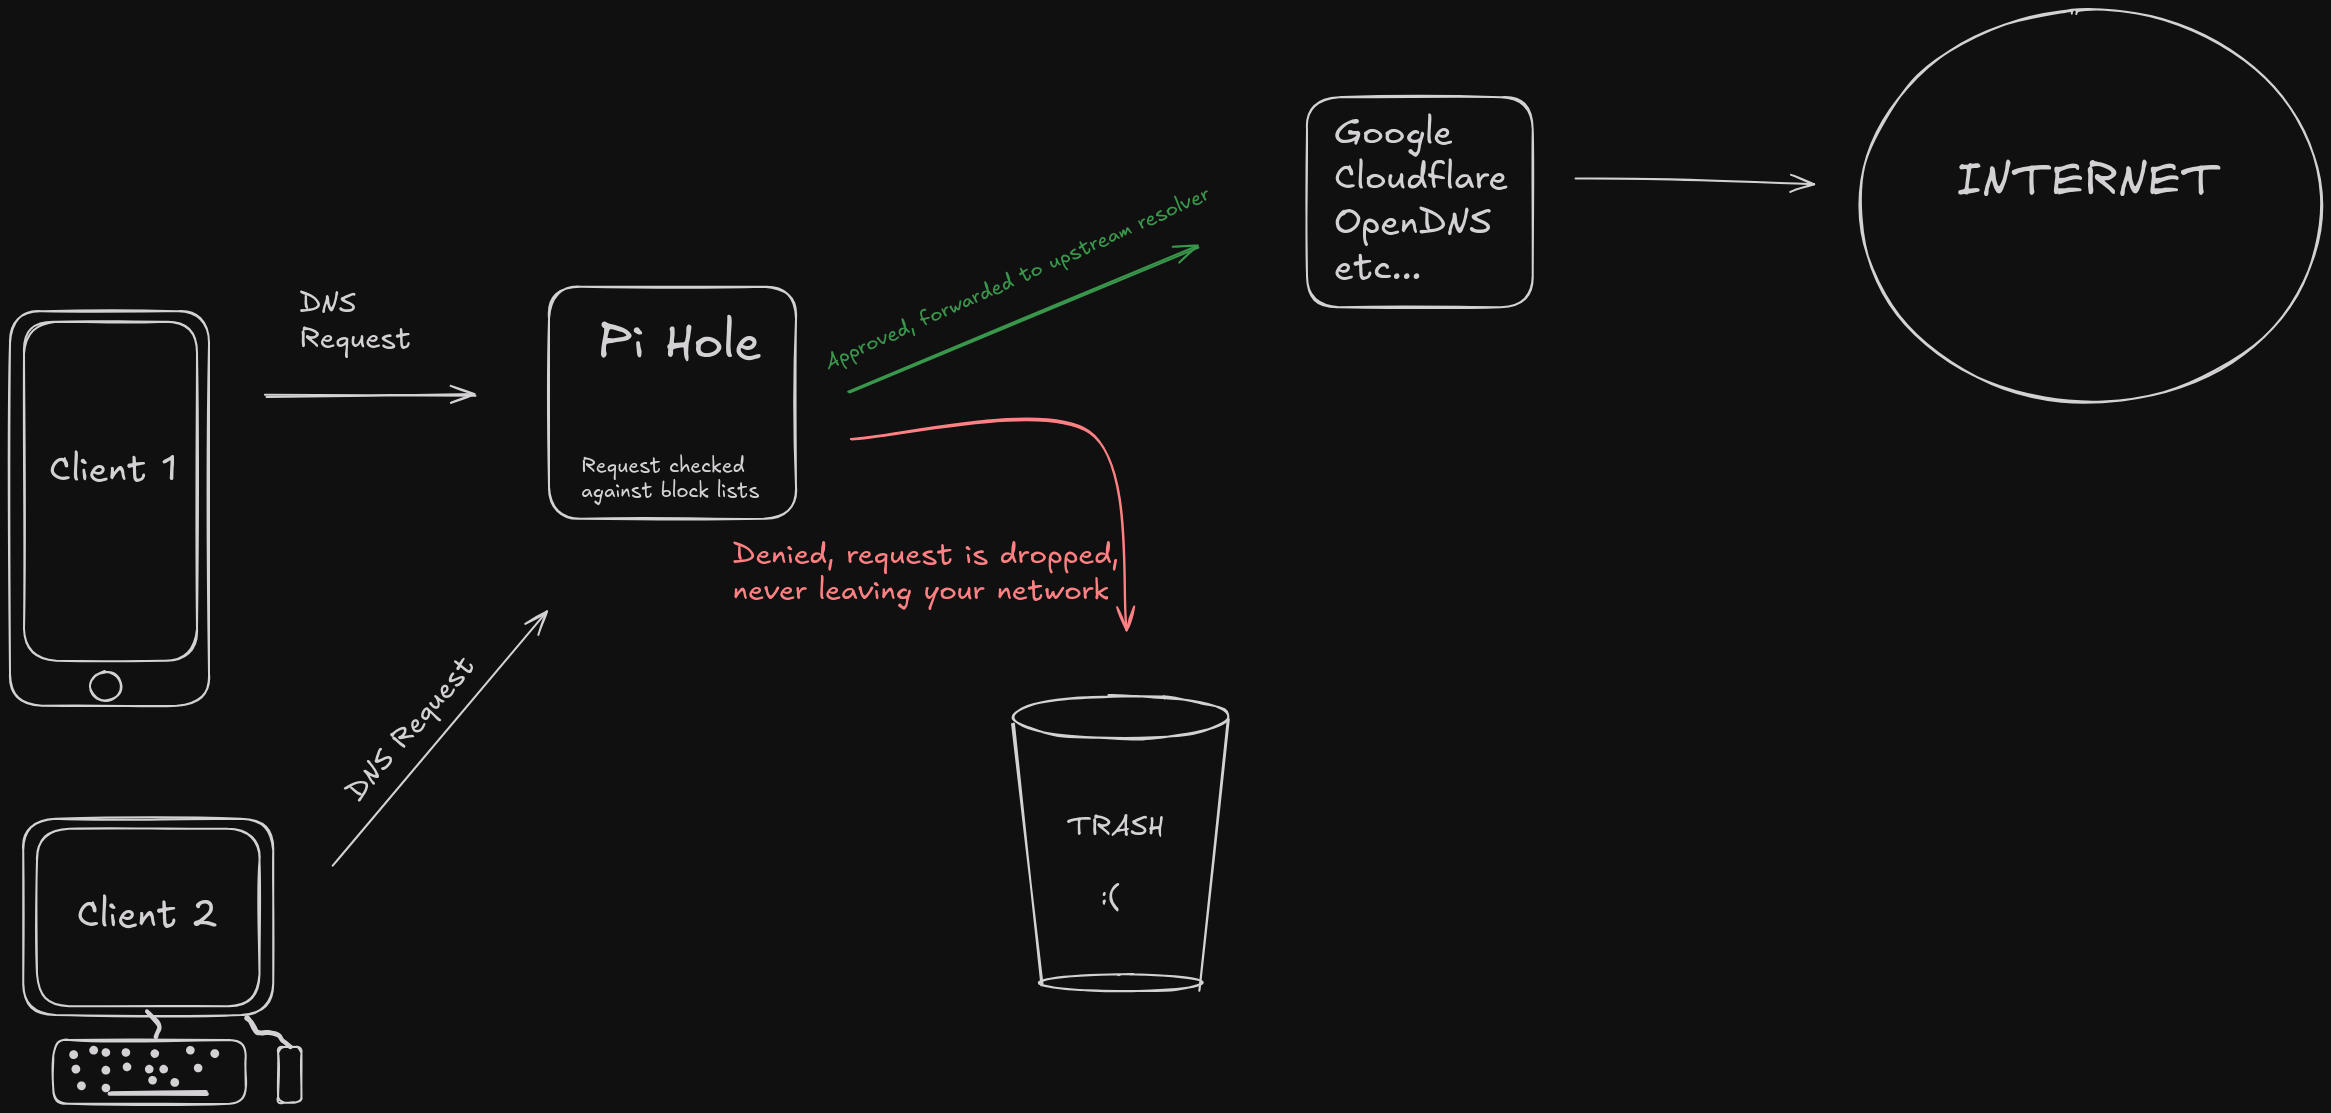
How does DNS work with Pi Hole?
When your device makes a DNS request, instead of forwarding the request to your router, it goes to Pi Hole instead, where it will check the domain against your blocklists, if it finds a match, it drops the request and it never leaves your network. If the request is approved, it gets forwarded to the DNS Upstream you chose earlier, where it resolves the domain to an IP address, then forwards it to the internet. I made a little diagram below to better visualize this:
Requirements
- Raspberry Pi
- USB flash drive (minimum 8 GB, 32GB Recommended)
- Or microSD card & microSD card adapter (if using microSD)
- Ethernet cable
- Computer with internet access
- HDMI cable
Flash RaspberryOS to USB/microSD
Download Raspberry Pi Imager from their website.
Plug in your USB or microSD, confirm it is detected by your computer.
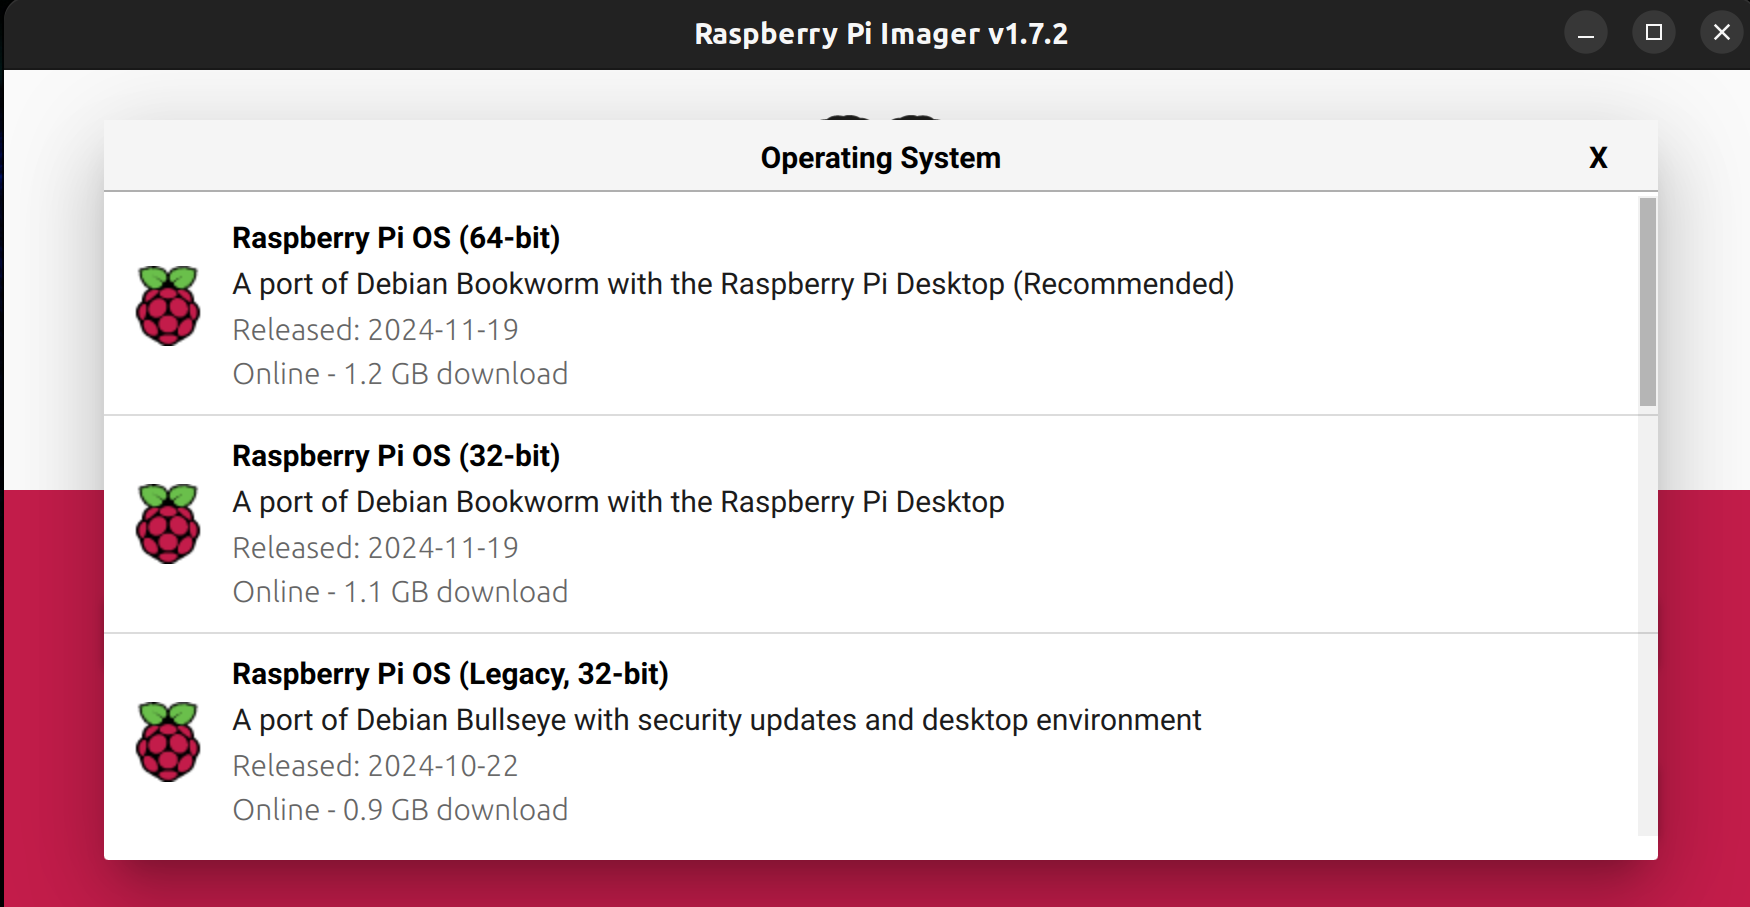
Launch Raspberry Pi Imager
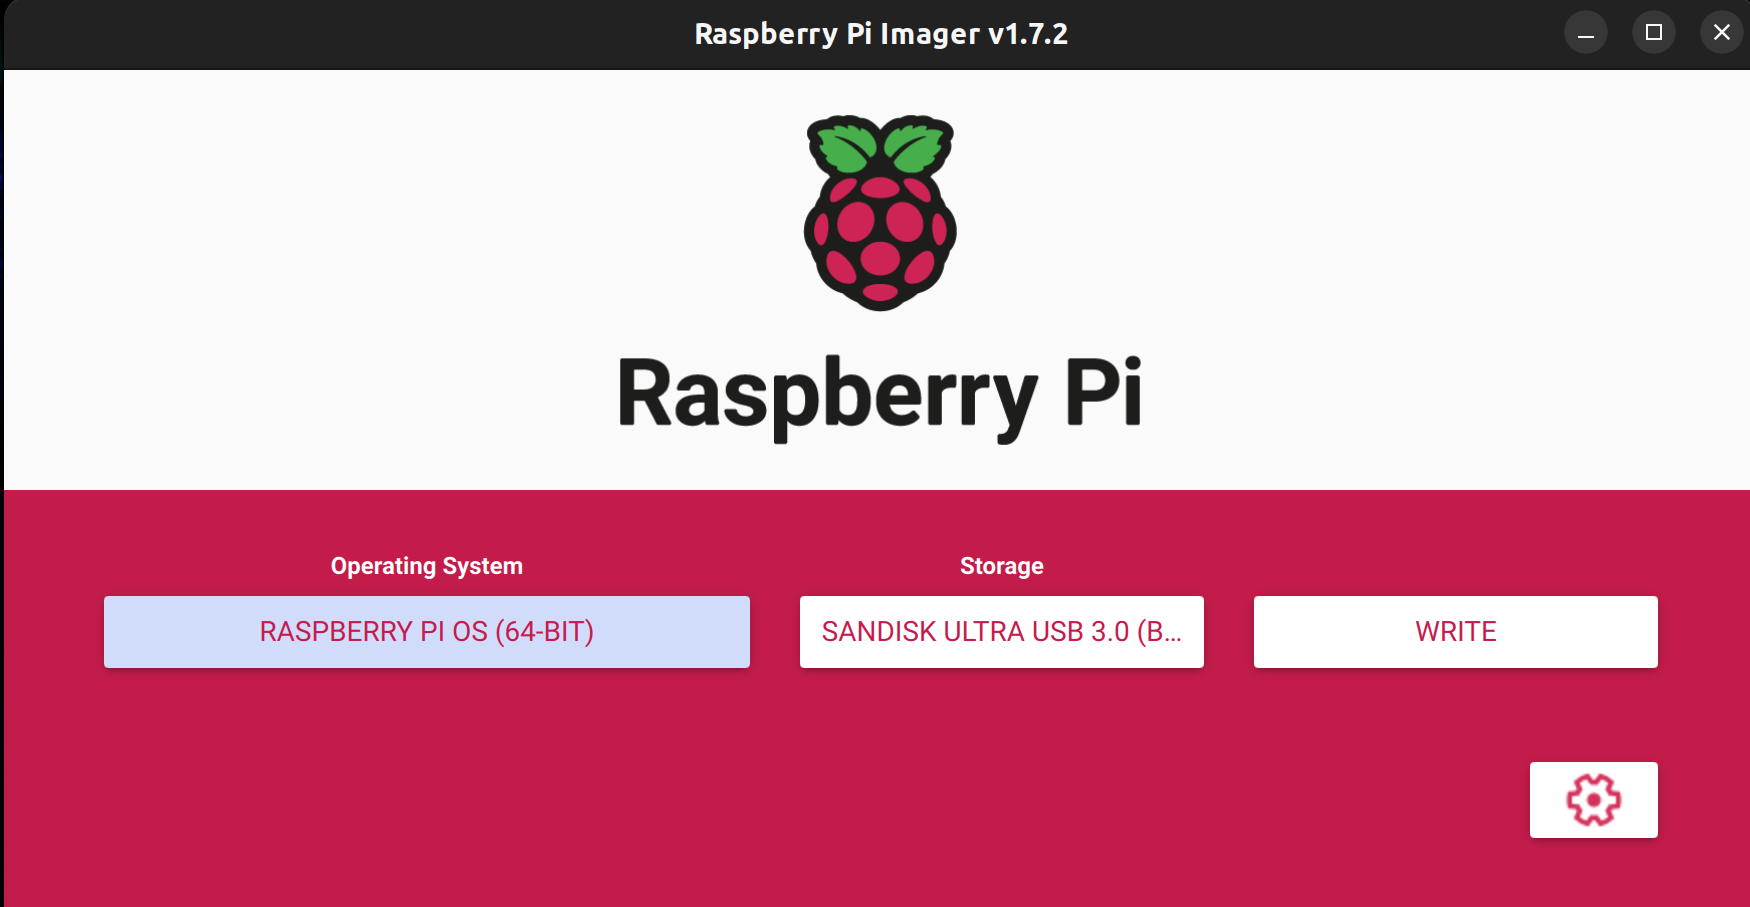
Select your storage device, in this case I am using a SanDisk Ultra.
Next, click the cog wheel to open the Advanced Options screen.
You can configure the hostname, SSH settings, and locale settings here. You can set up Wi-Fi here, but for our purposes we are hardwiring our Pi.
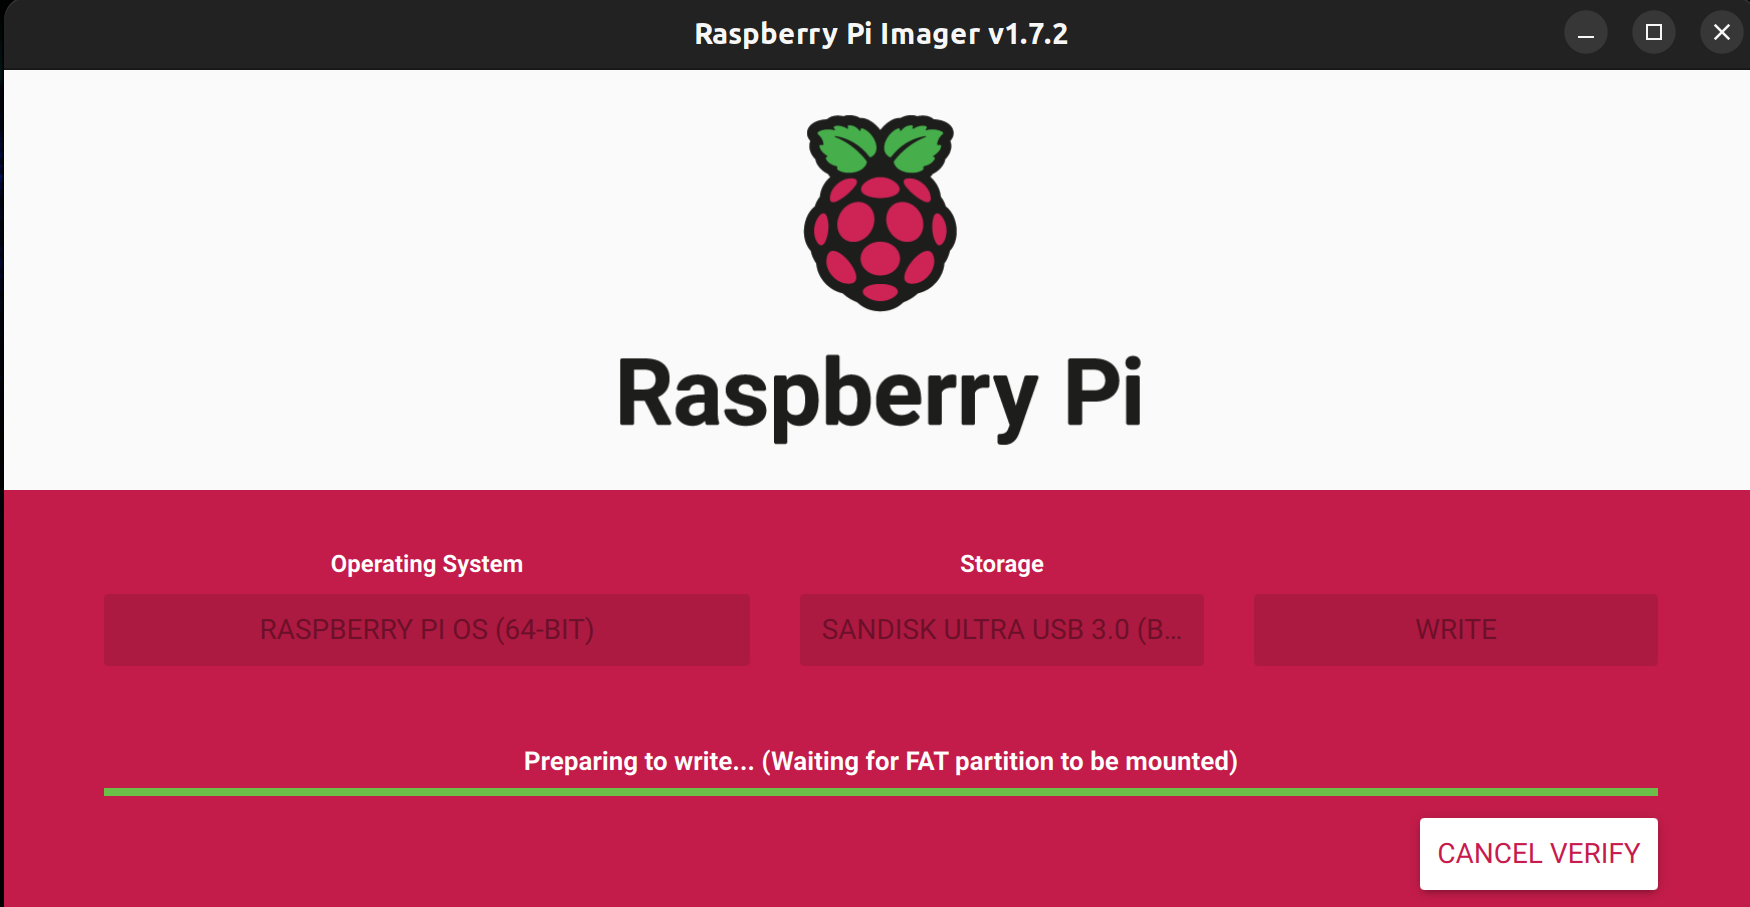
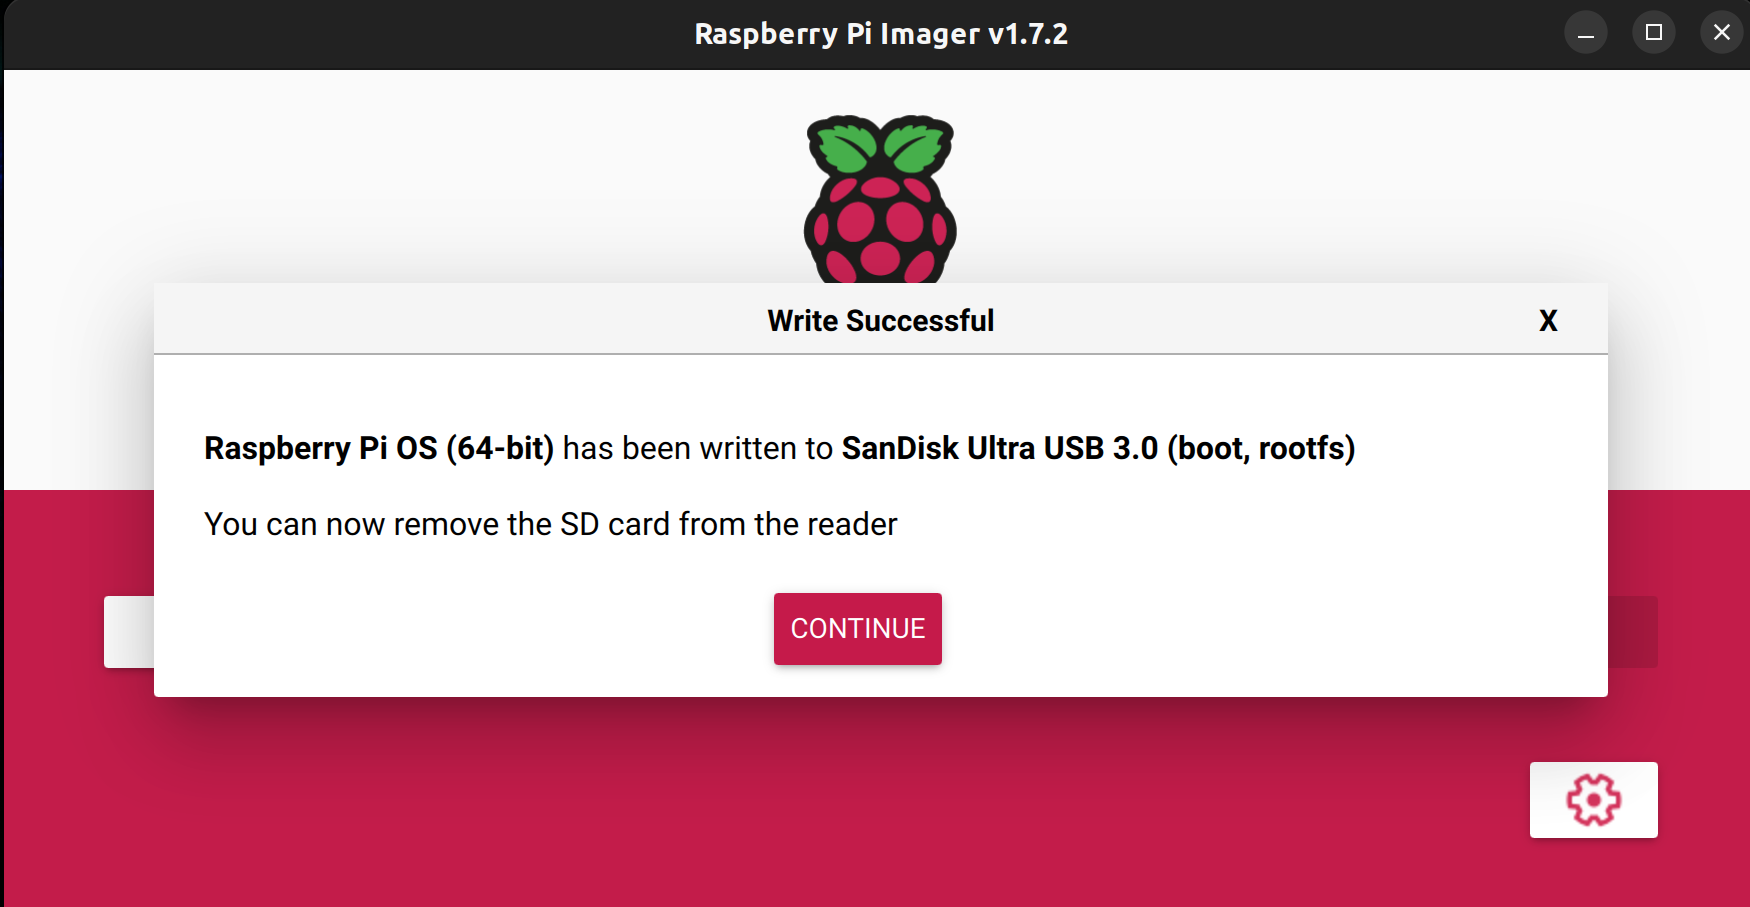
Click “write”, then wait for the confirmation screen

How to Enable USB Booting
Once the Raspberry Pi Imager has finished flashing and verifying the install, unplug your USB and plug it back in, then open the boot partition in a file explorer or terminal.
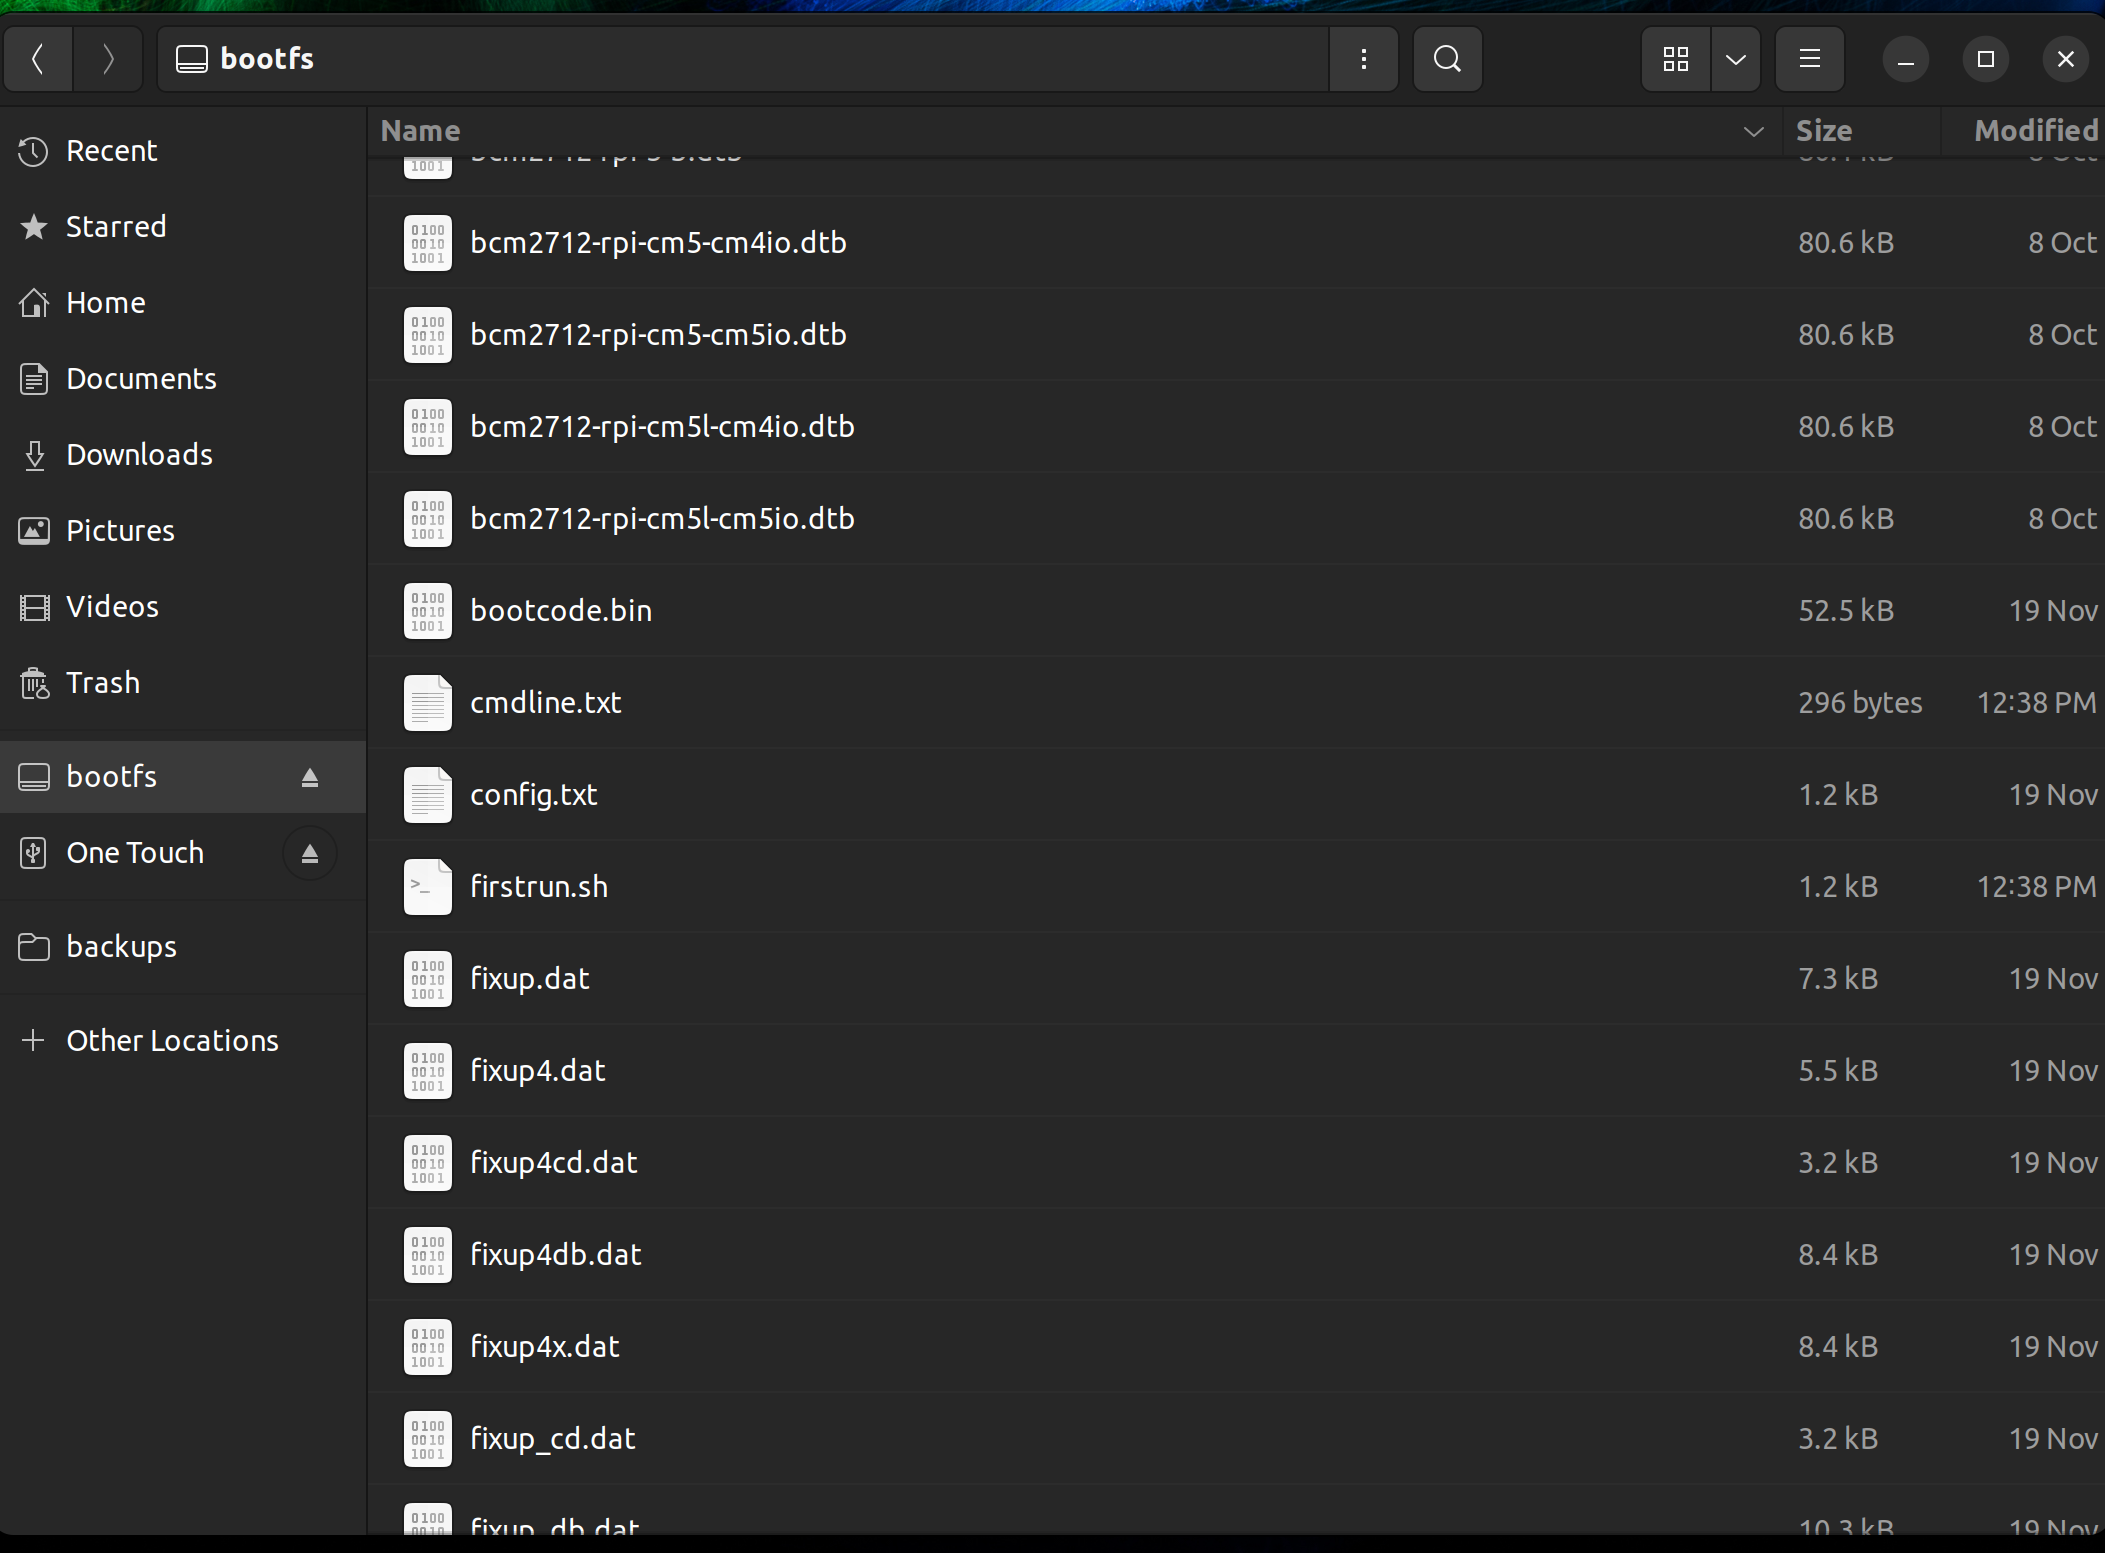
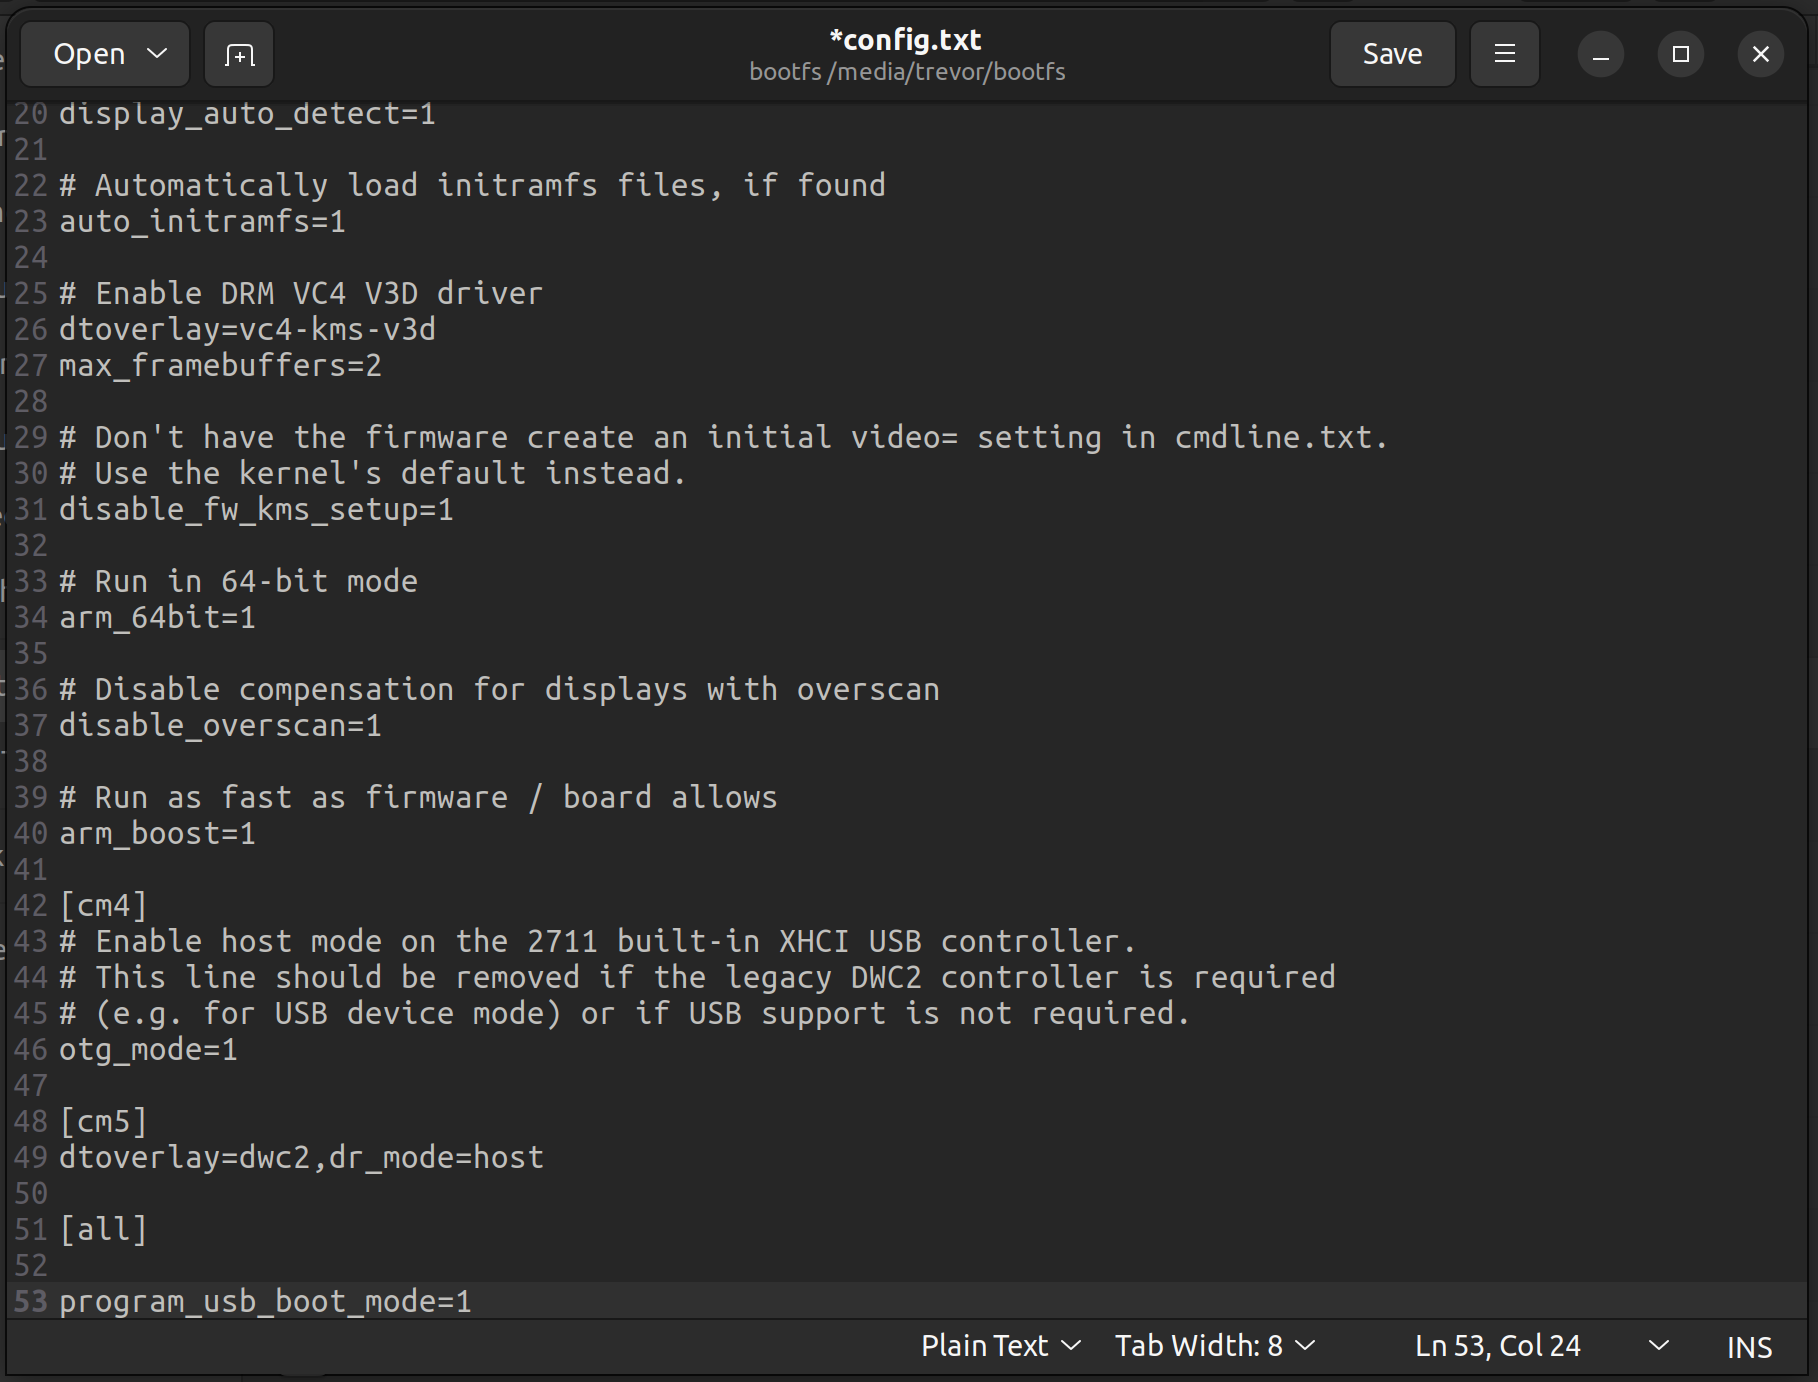
Find the config.txt file and open it in a text editor, add this line to the very end of the file:
program_usb_boot_mode=1
Save, close, then eject your USB.
Plug USB, HDMI, mouse and keyboard and Ethernet into your RPi, then power on.
How to Enable SSH on Raspberry Pi
Once powered on open the terminal and run:
sudo raspi-config
Navigate to Interfaces > SSH > Enable SSH
Save and Reboot.
How to Install Pi Hole via Installation Script
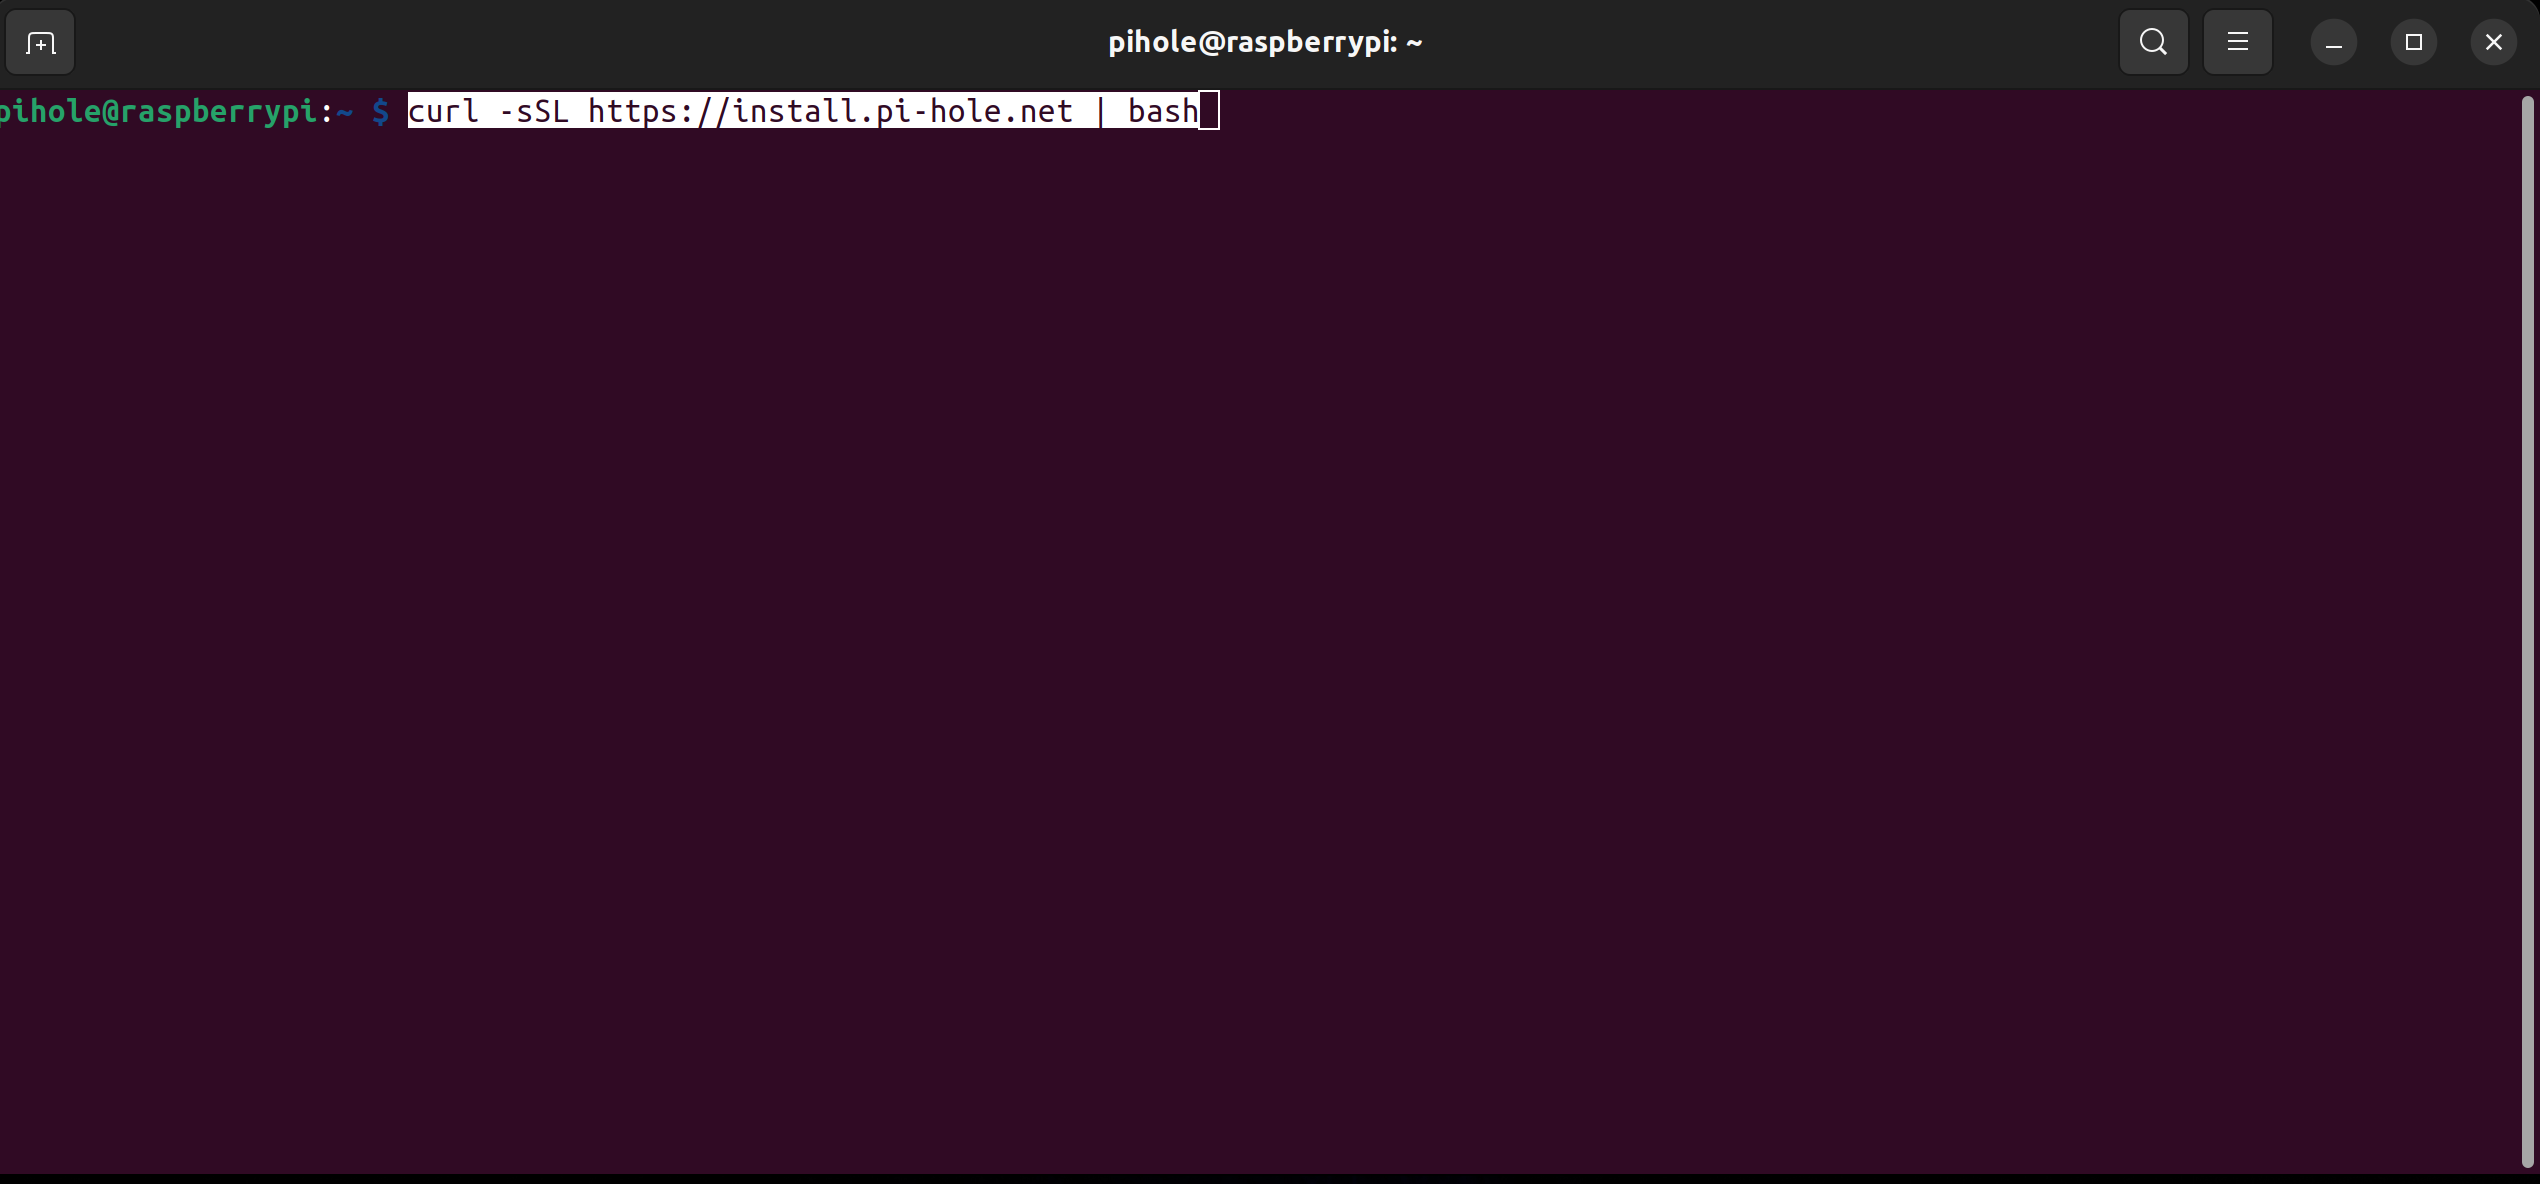
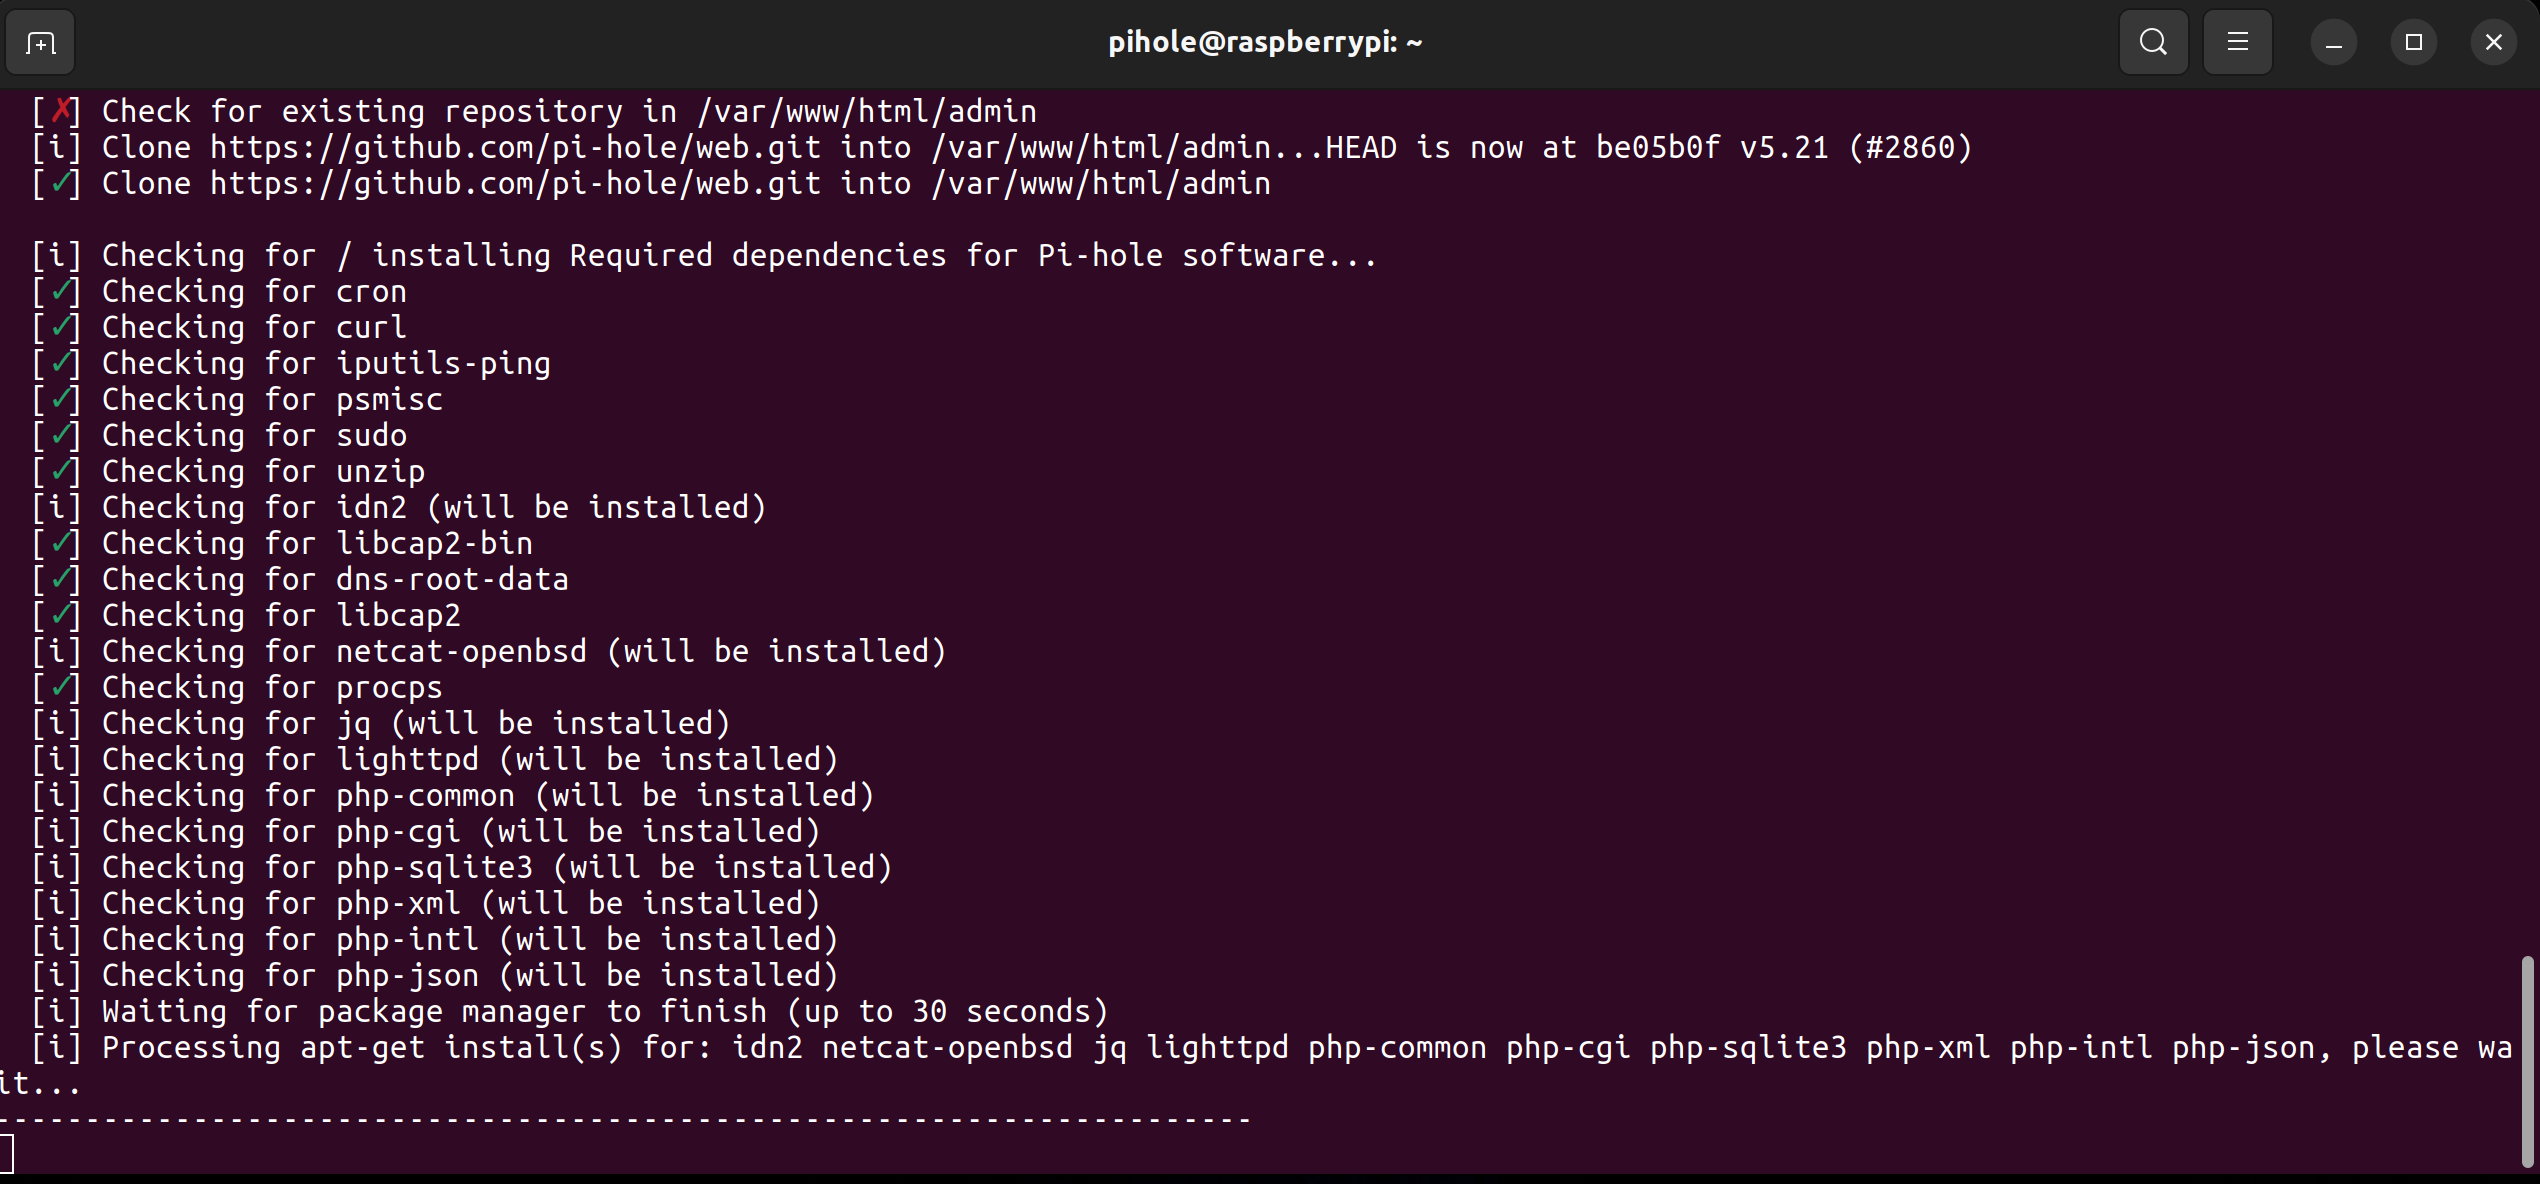
After reboot has completed, open terminal and run this command and let it do its thing:
curl -sSL https://install.pi-hole.net | bash
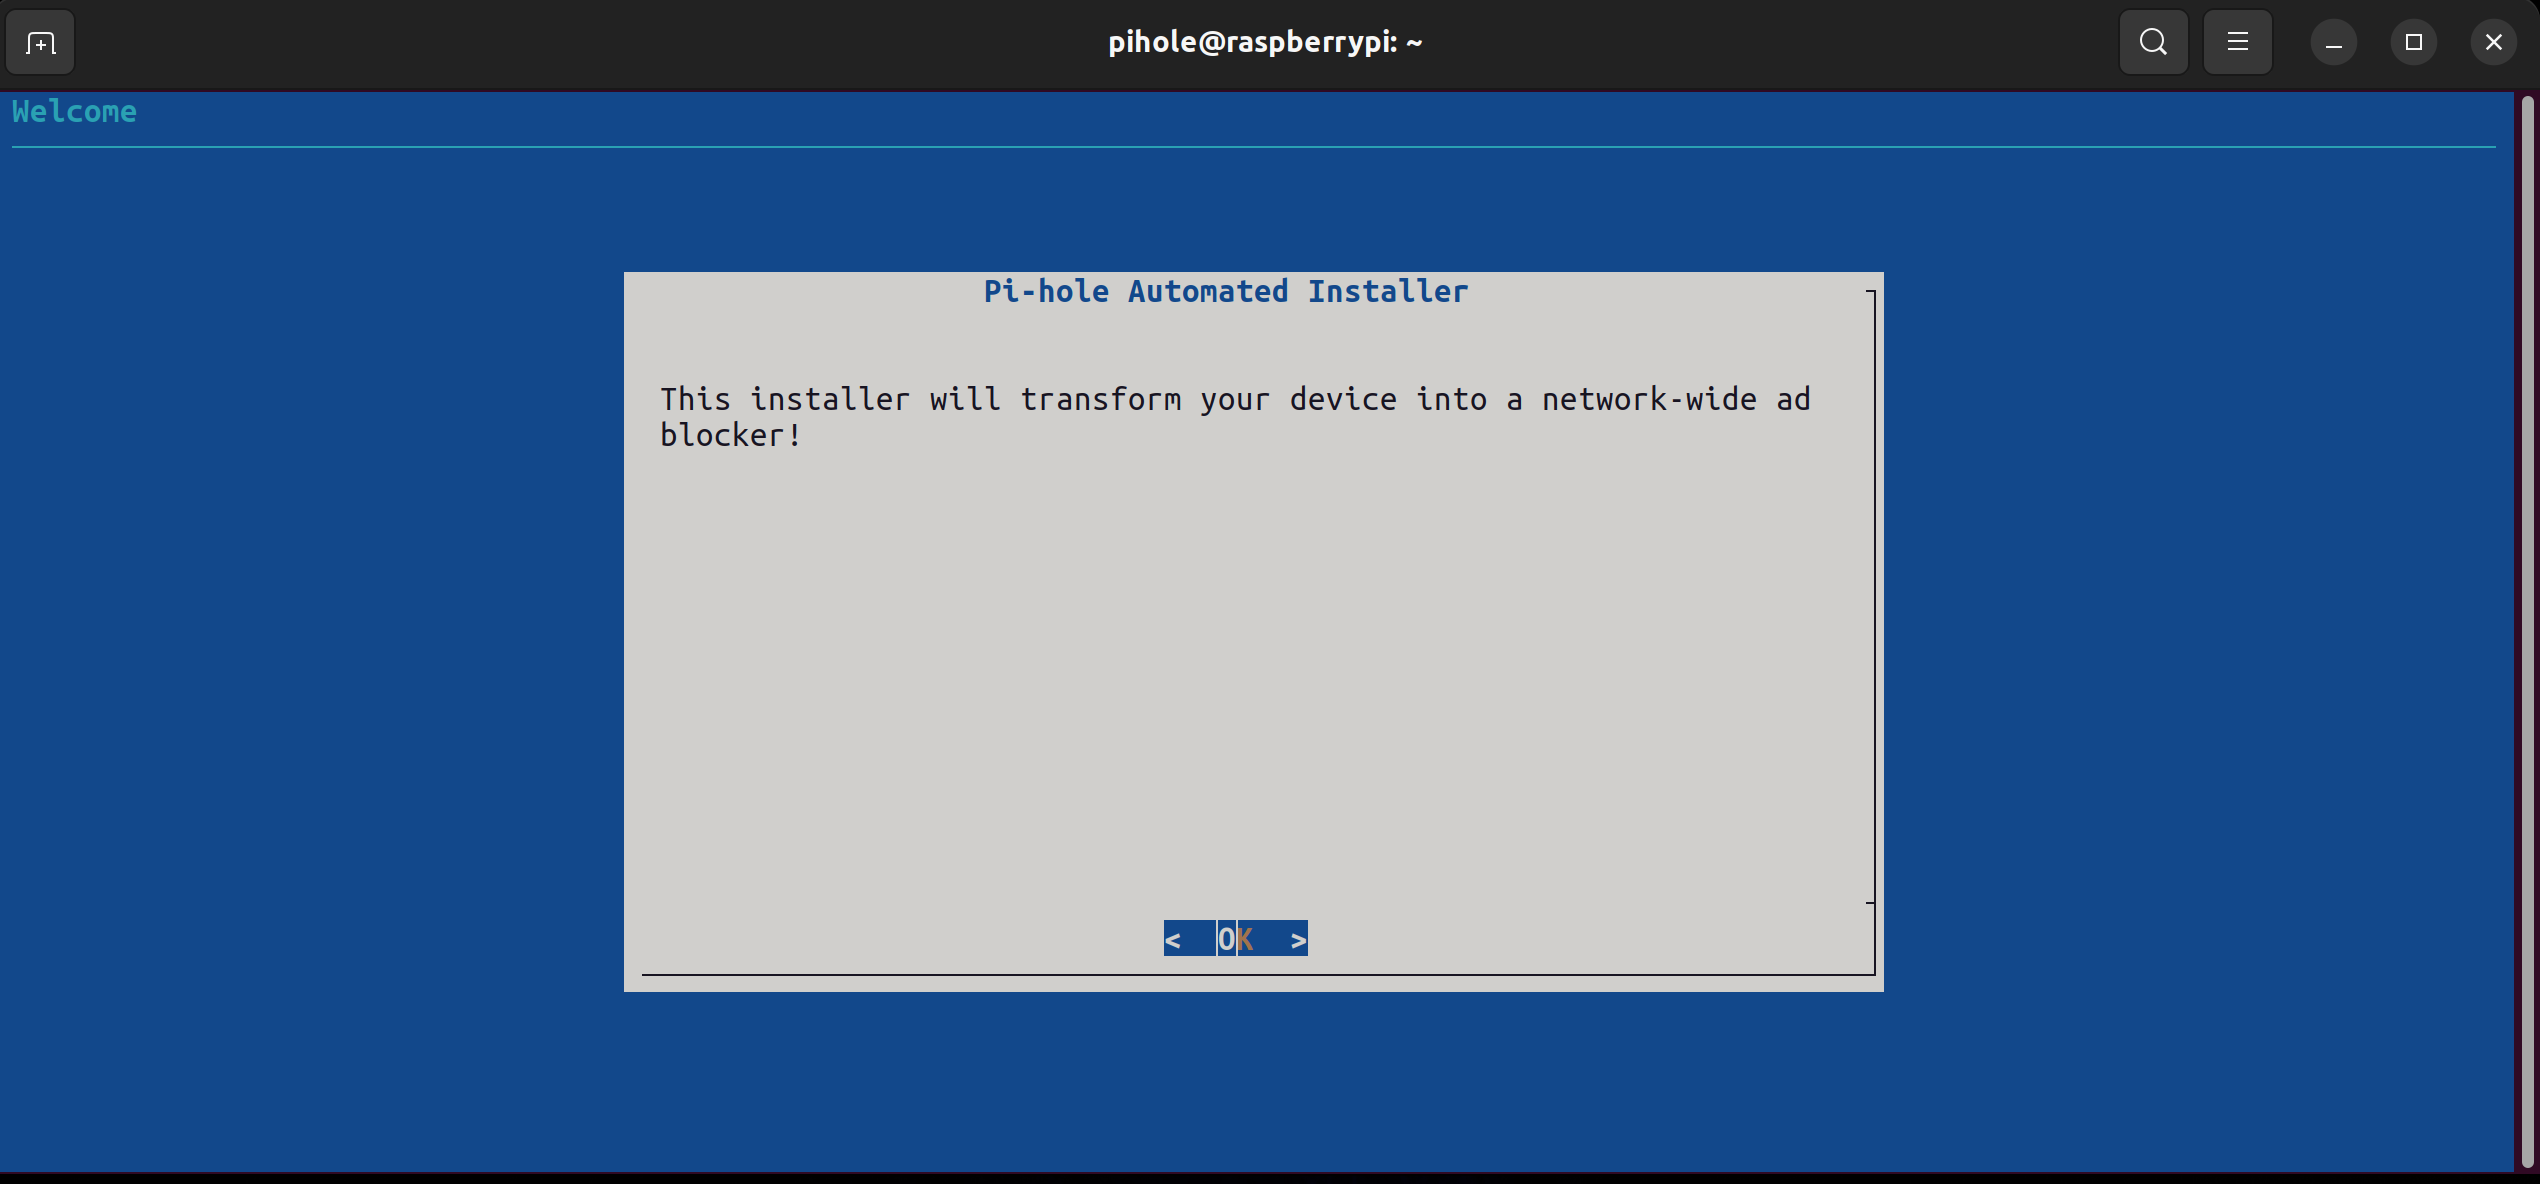
You will then be prompted with this messge screen, press enter to continue.
Pi Hole will then ask you to assign a static IP address, we want to do this now so we can reserve an IP, preferably something memorable.
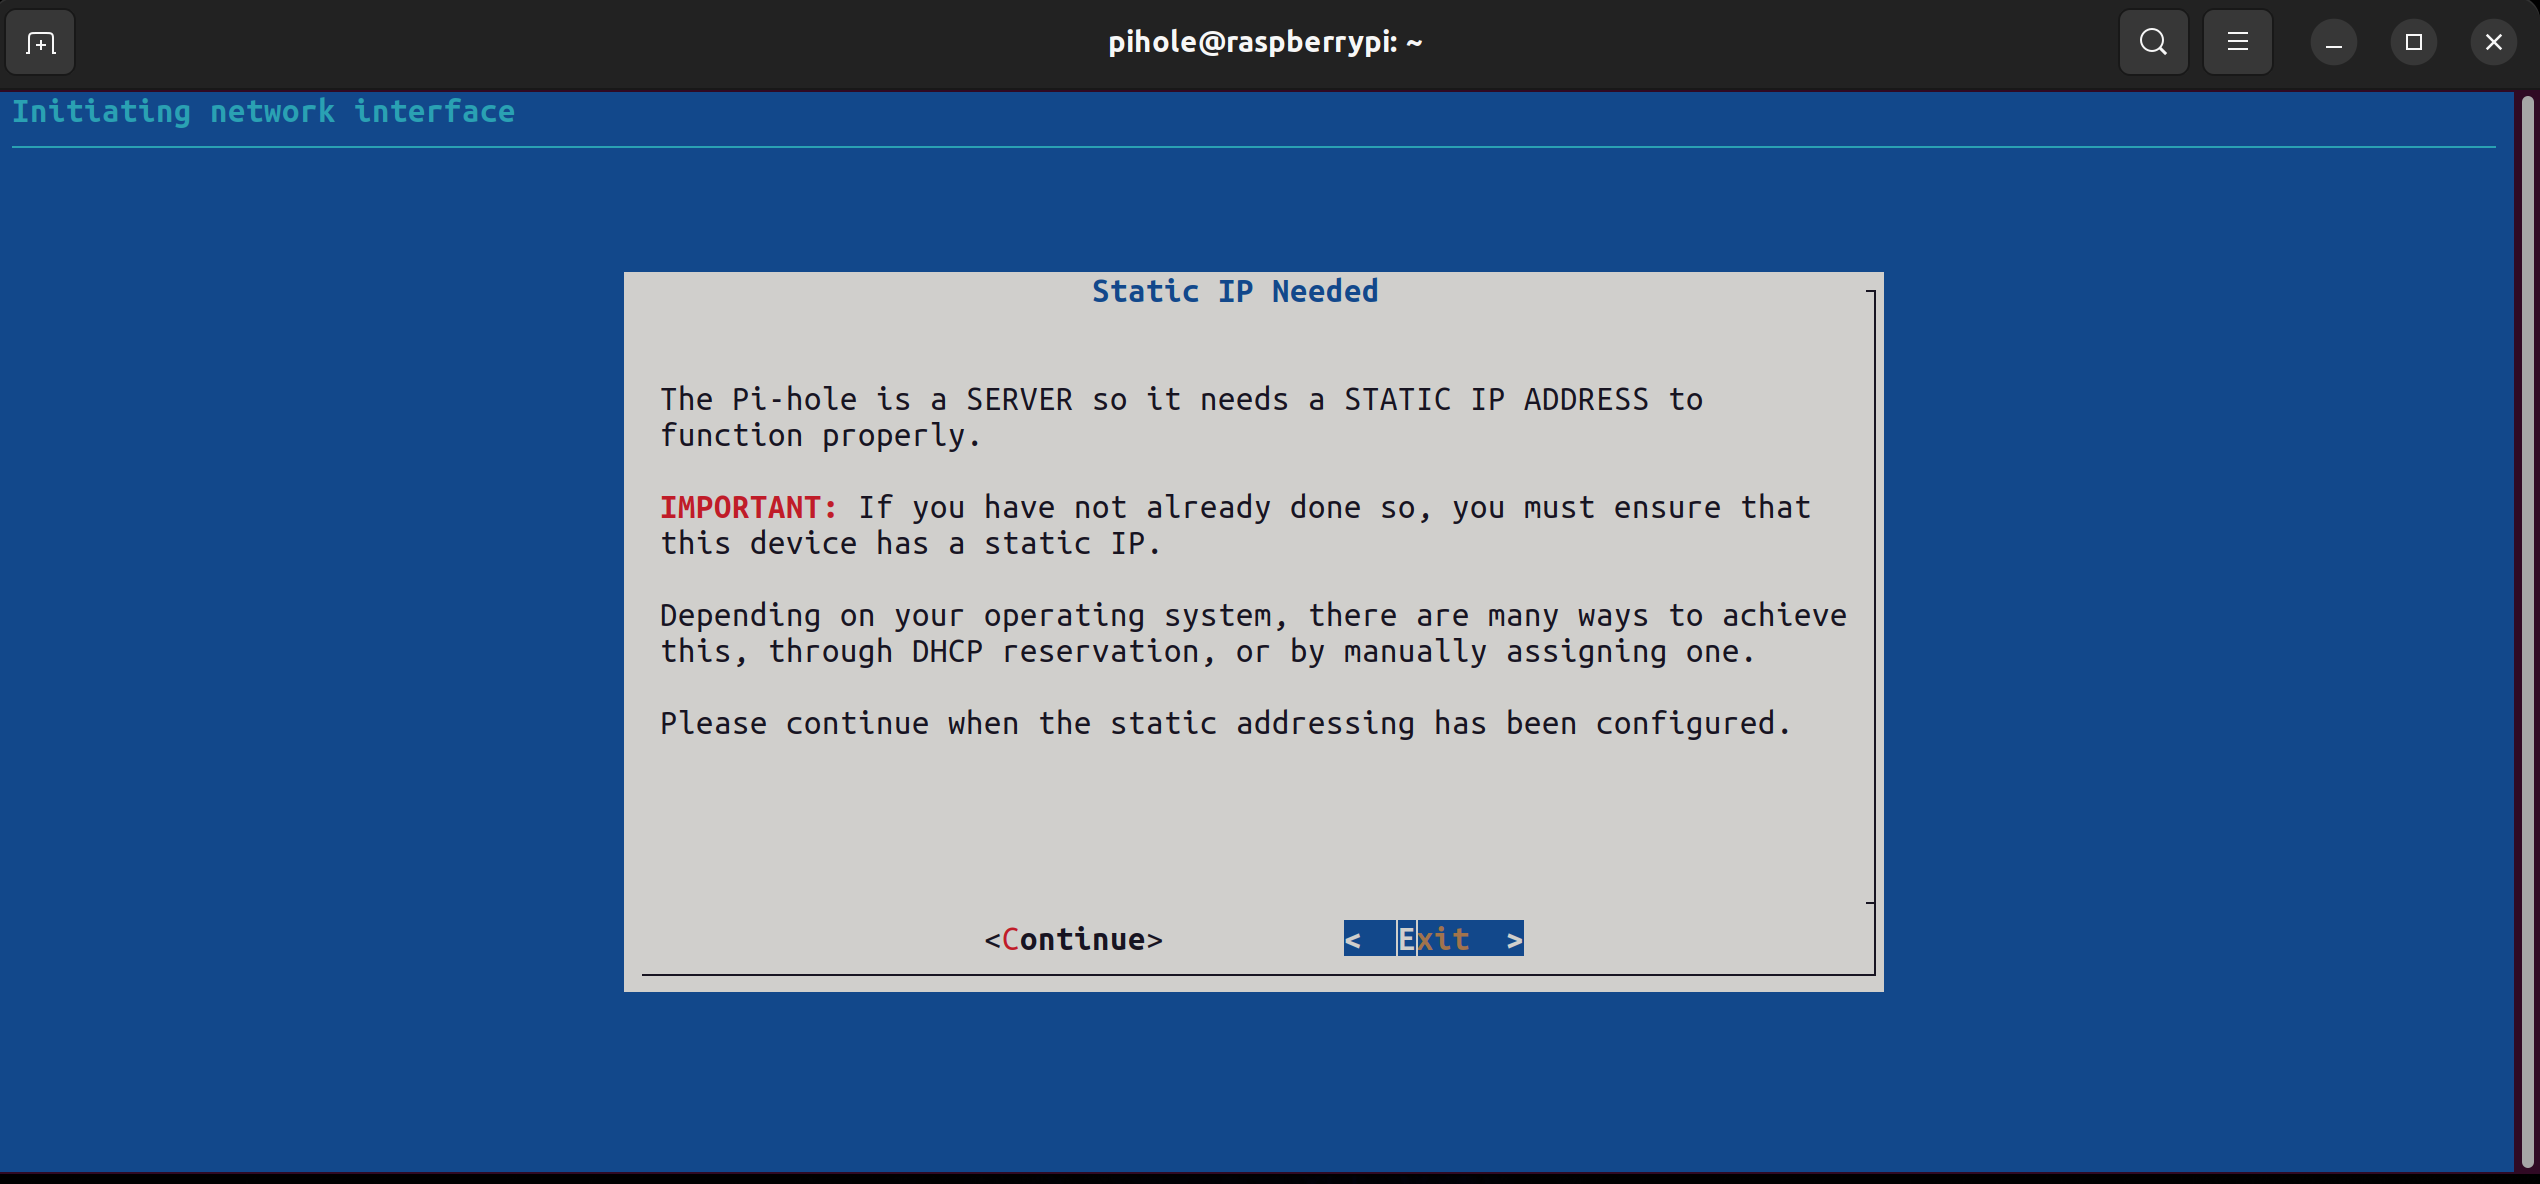
In this example, I set mine to 192.168.0.2, as my router is .0.1, I figured my Pi Hole should sit right next to it, so it doesn’t get lonely.
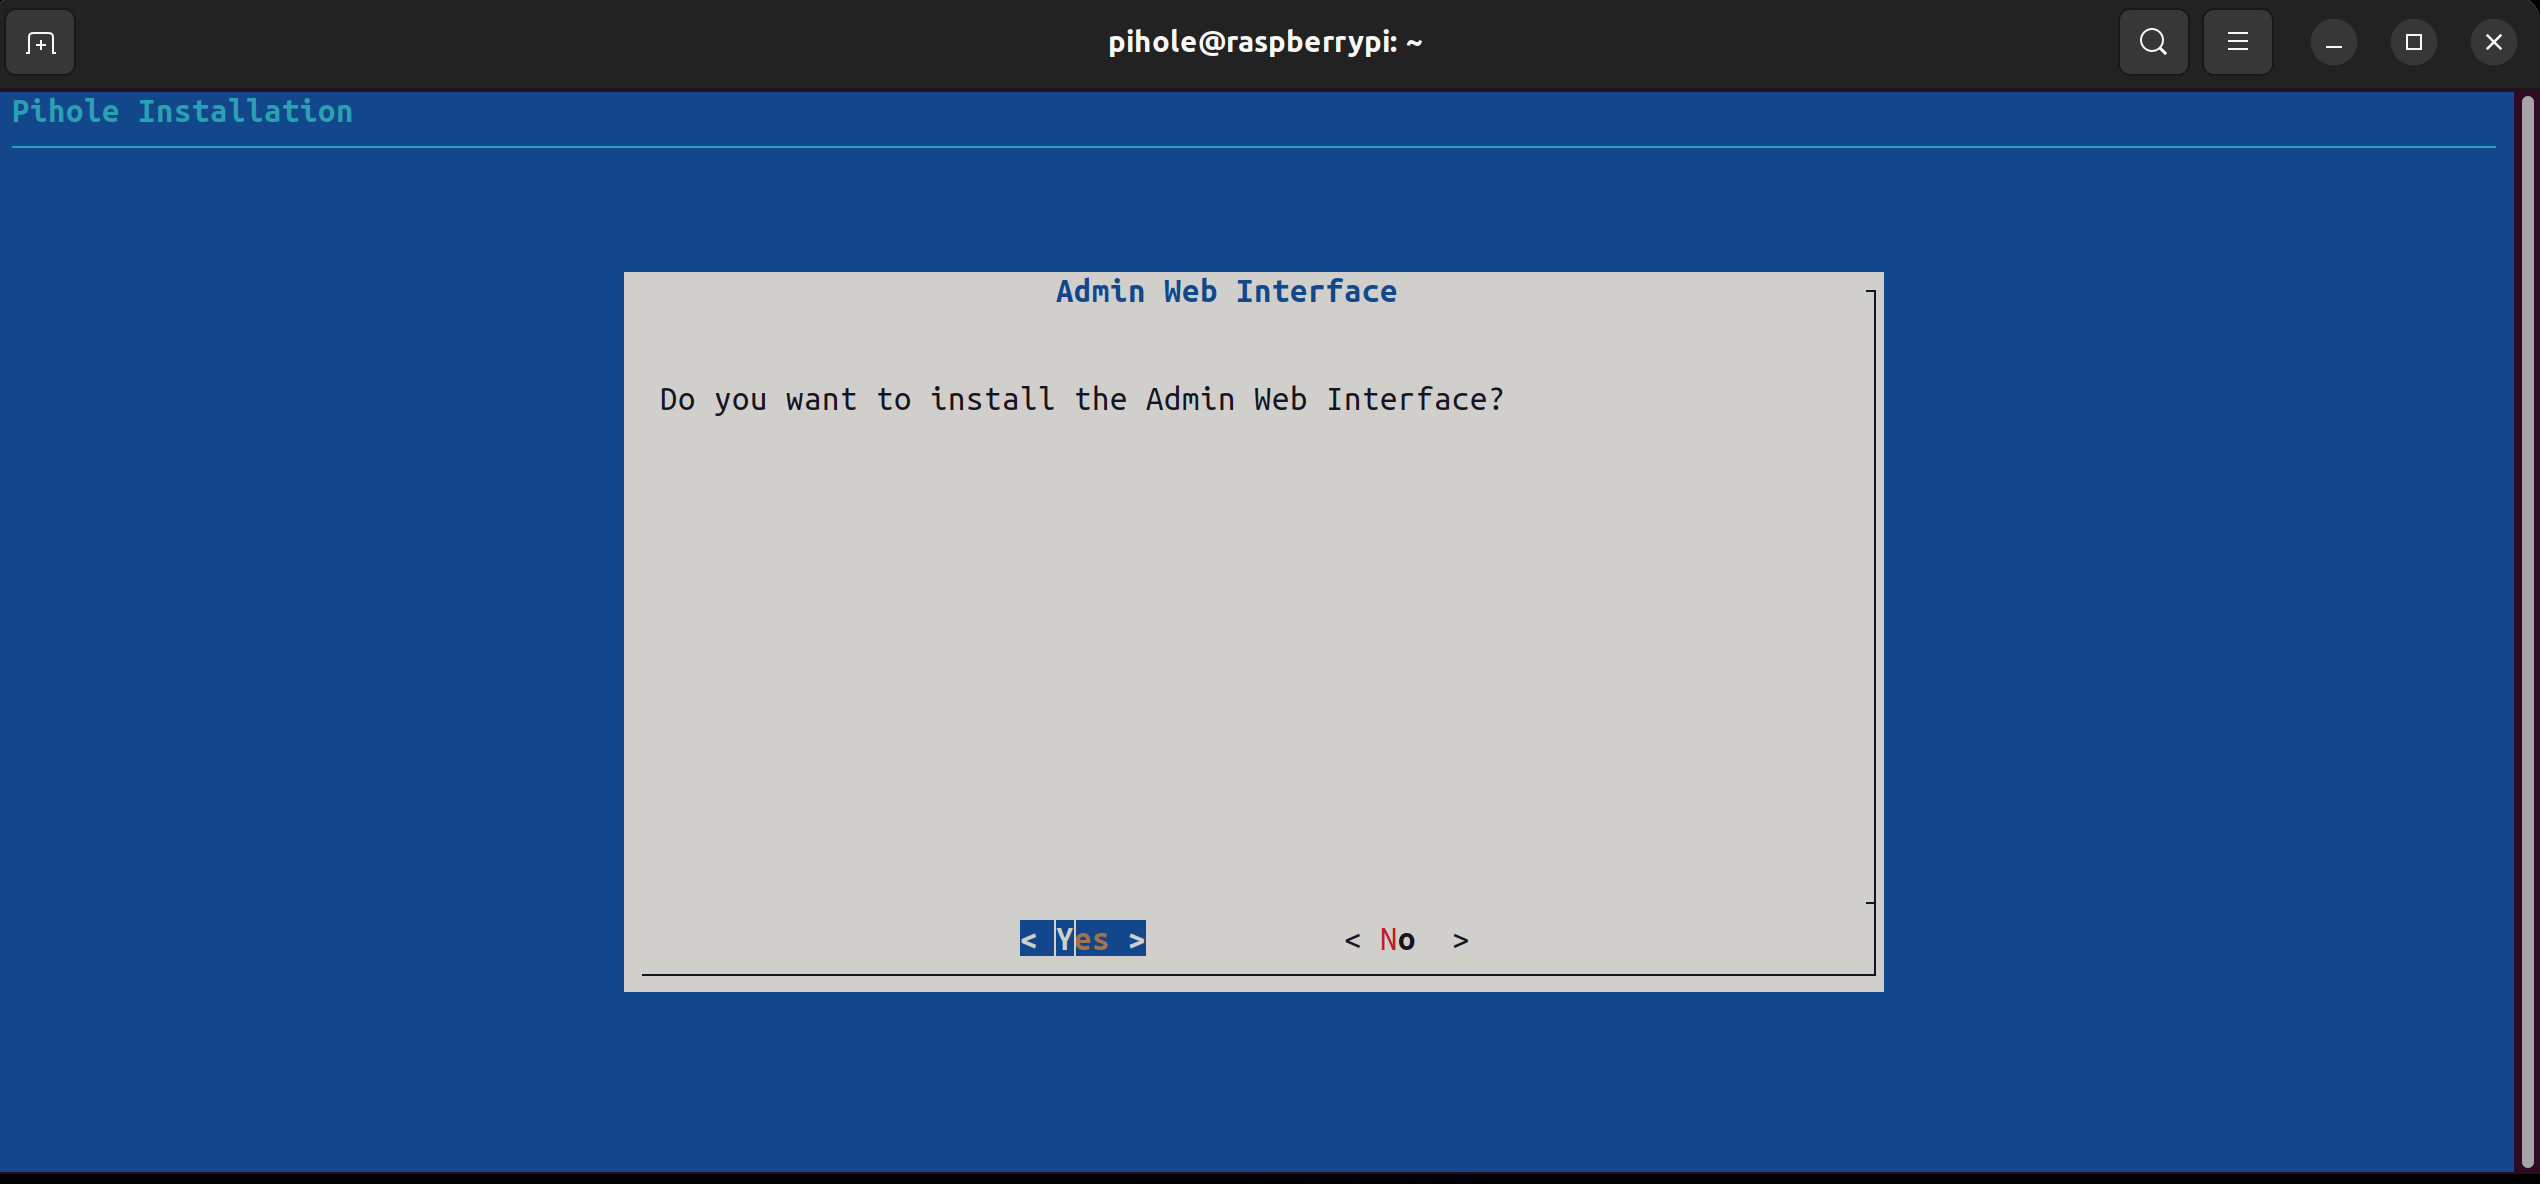
Then you be prompted to install the Web Interface, we want to install this so we have a UI to interact with.
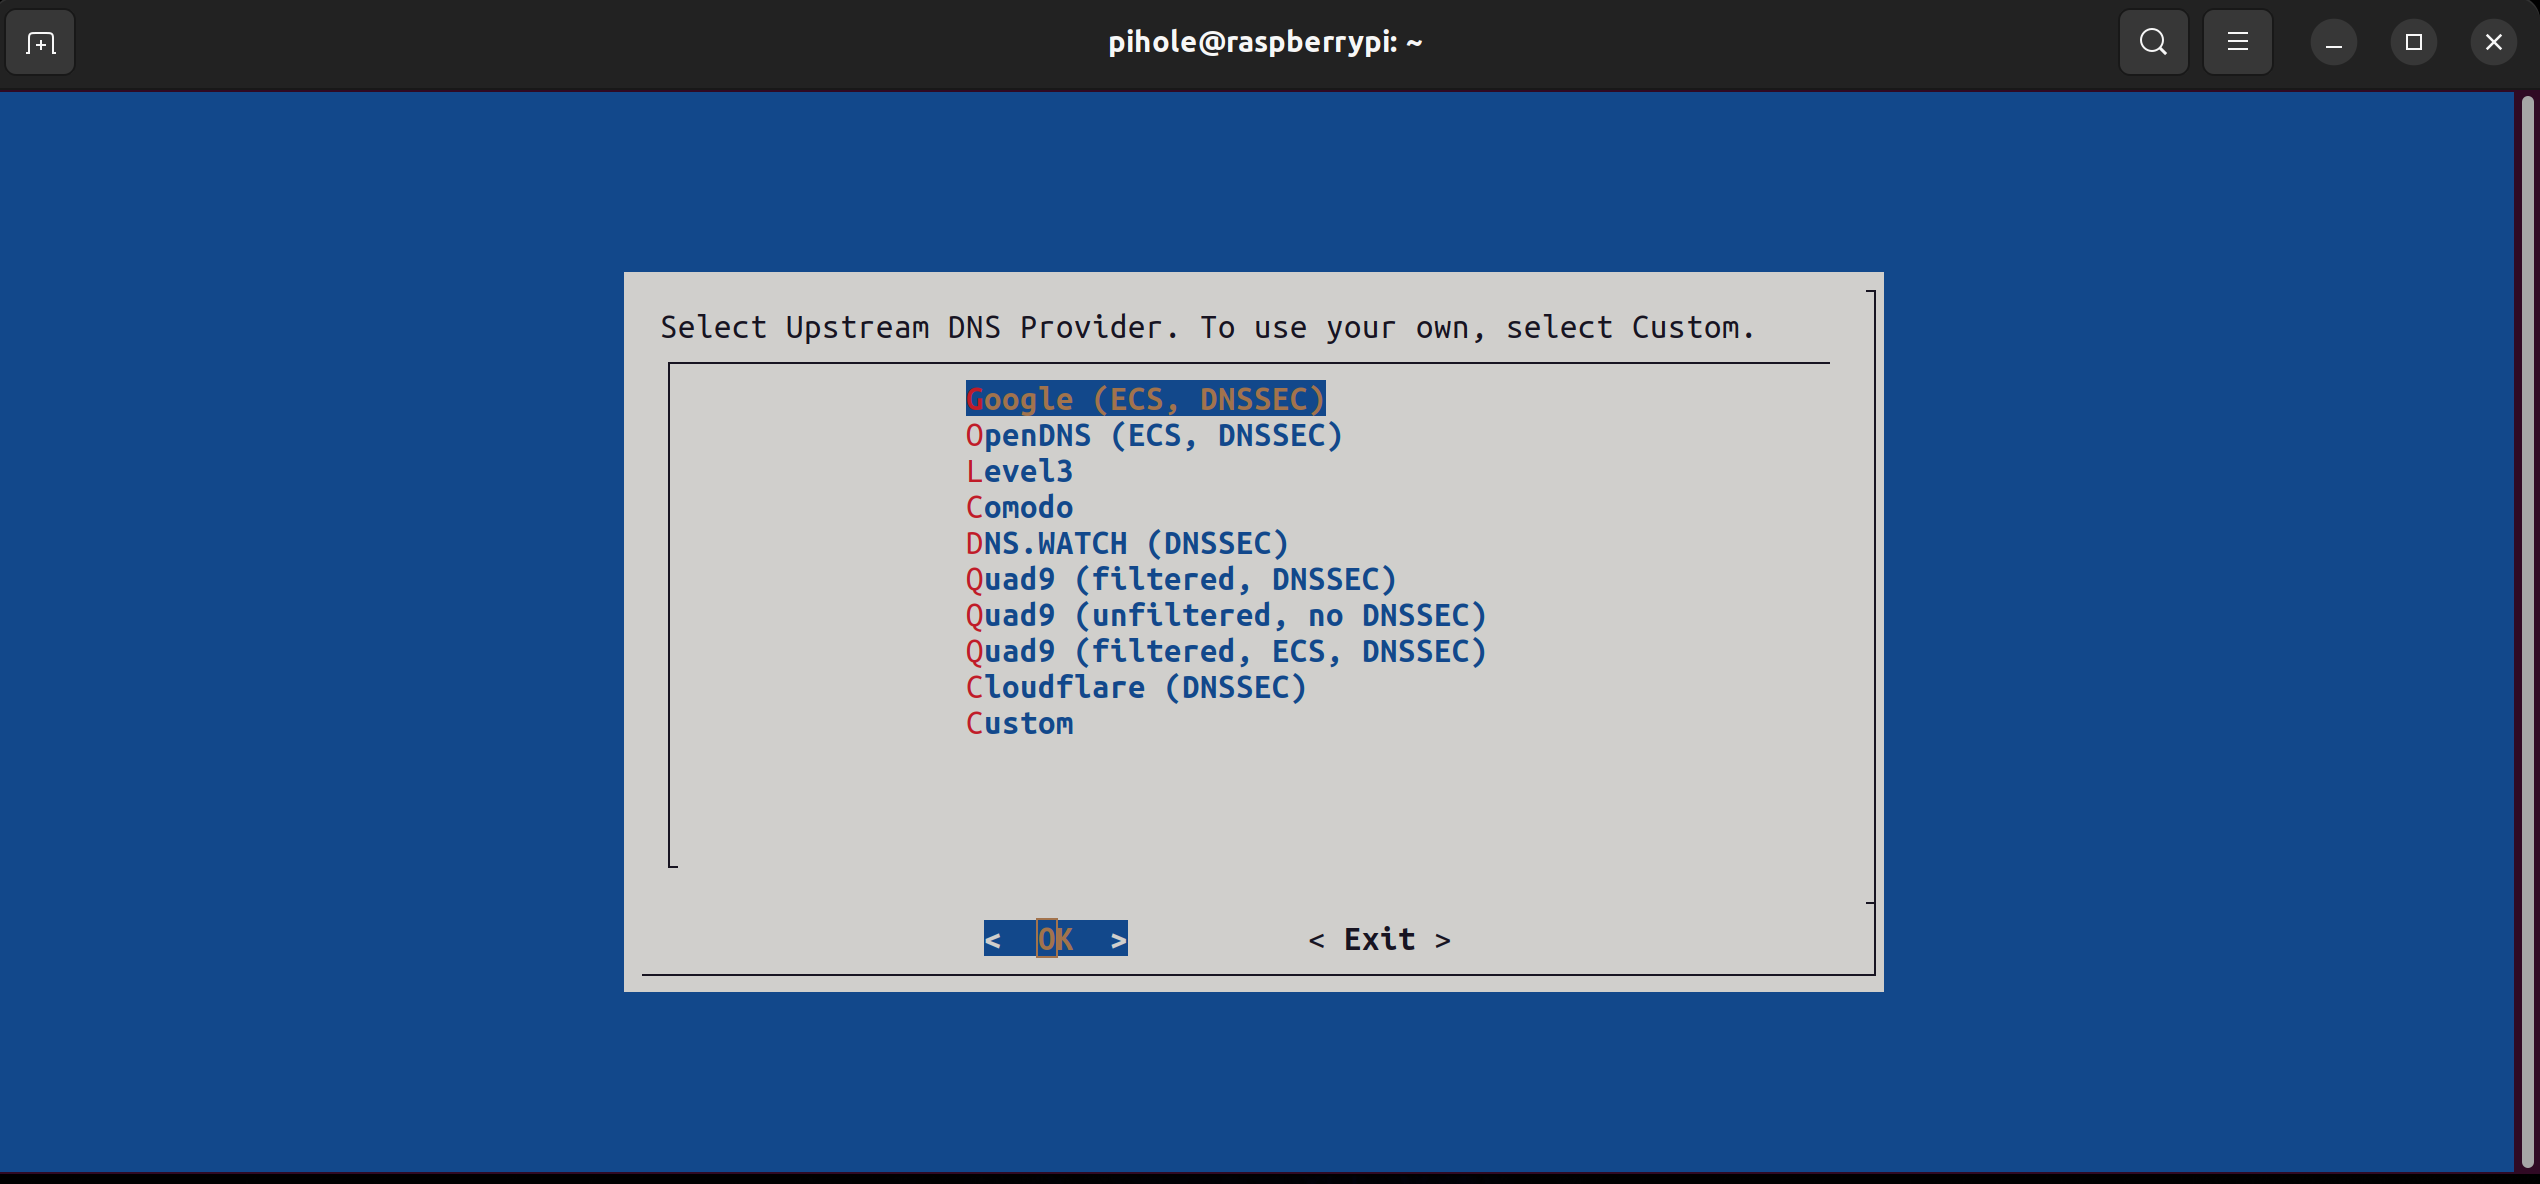
For a DNS upstream server, Google or Cloudflare should work just fine.
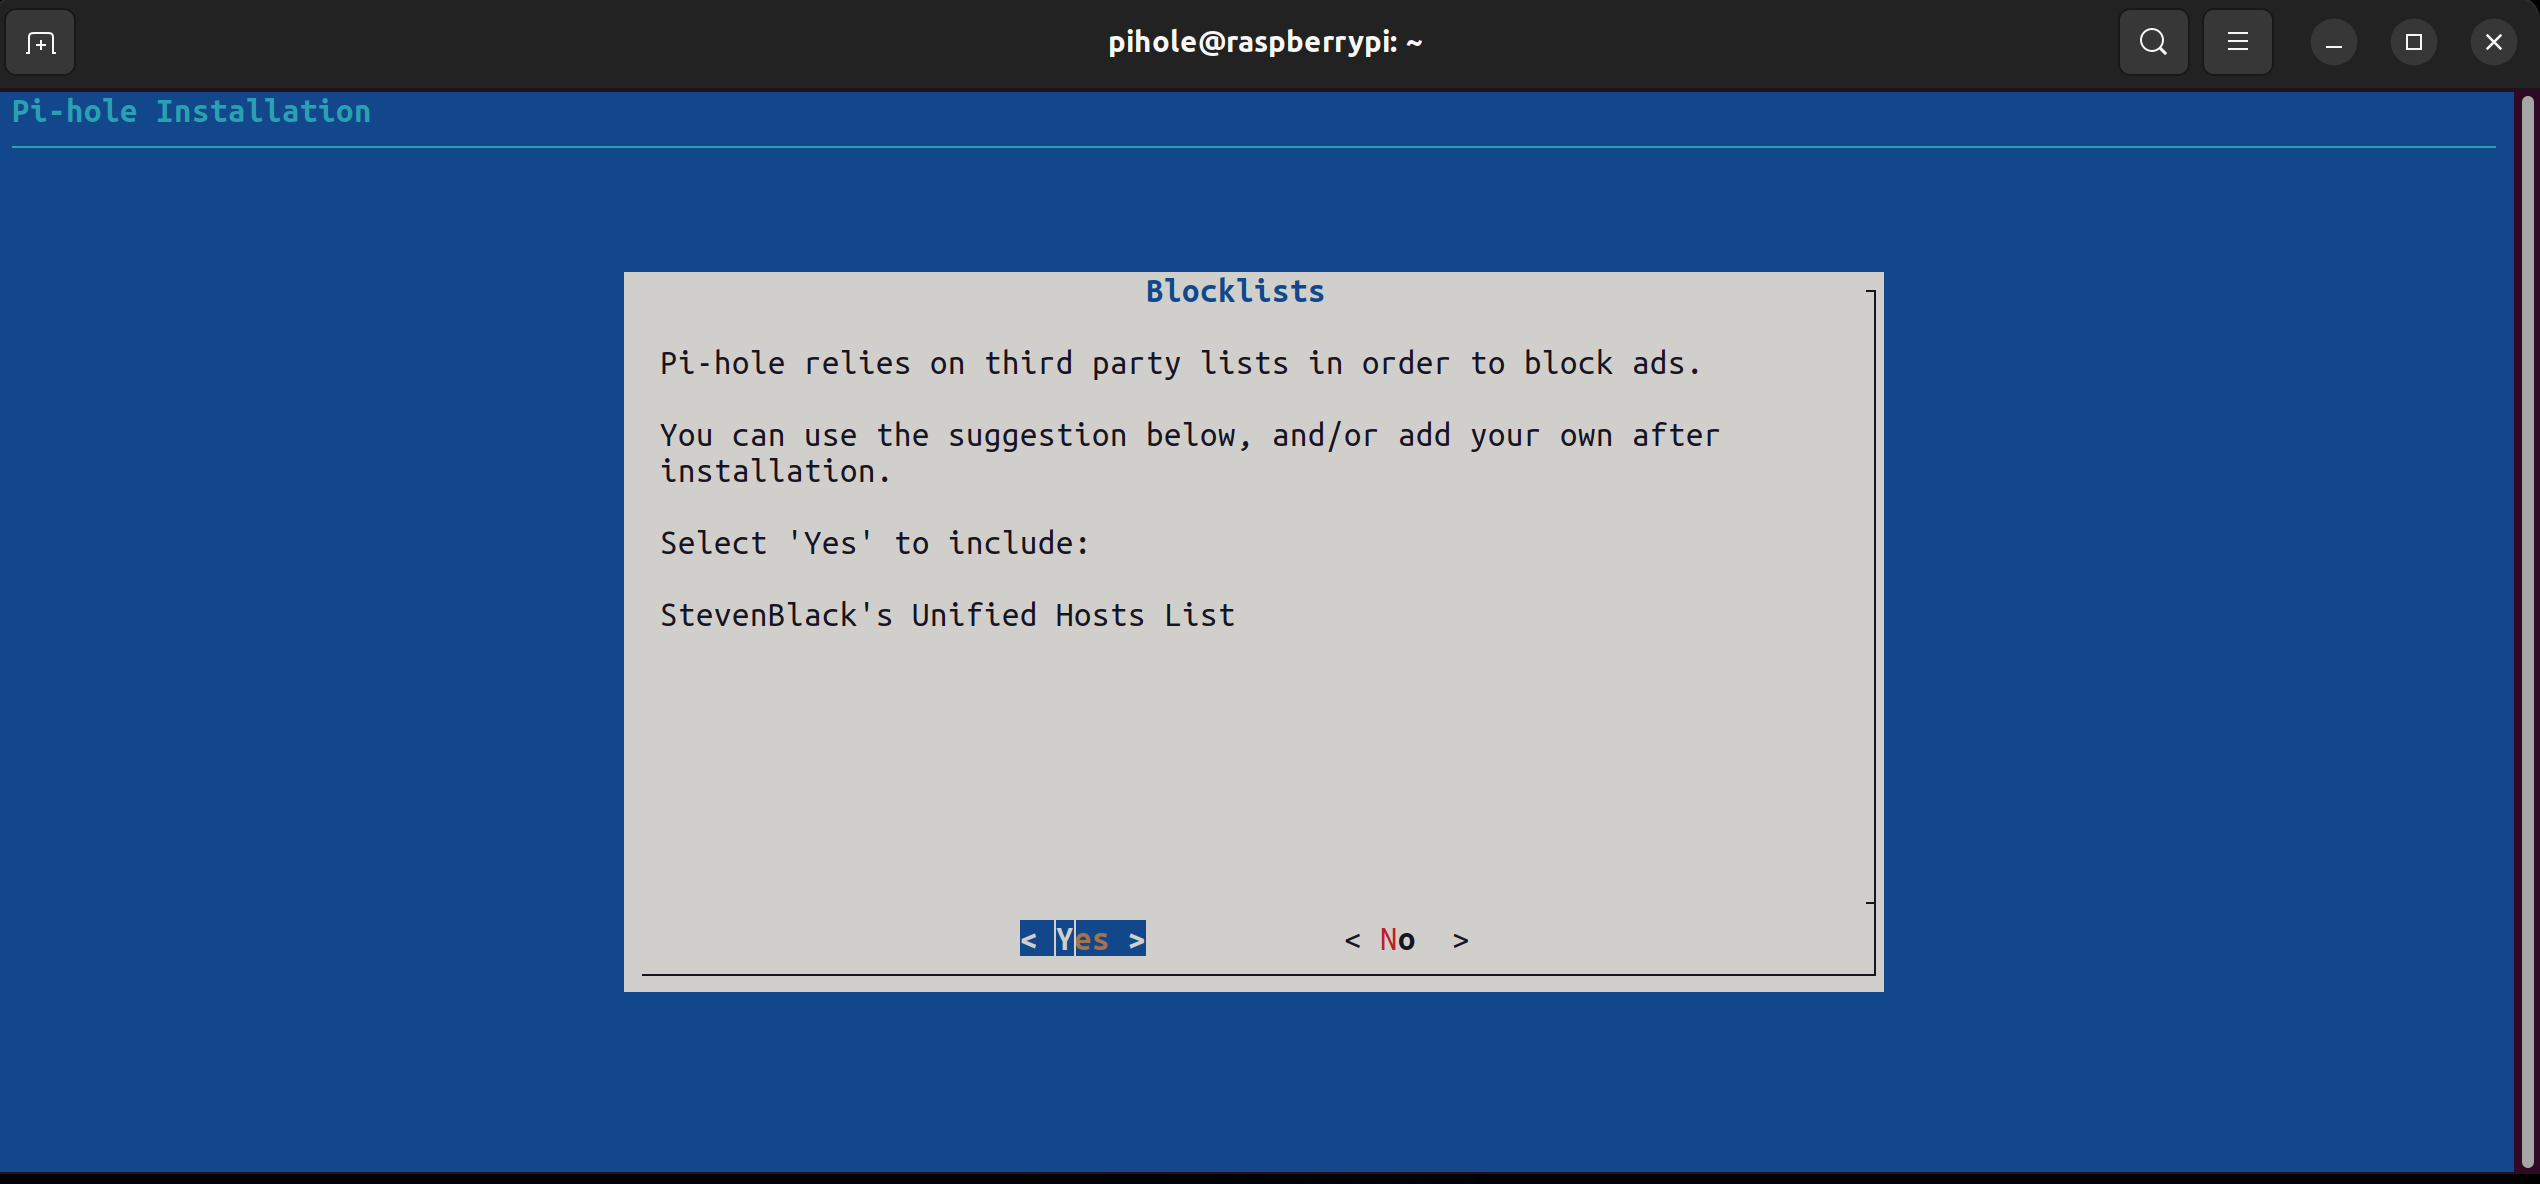
You will be asked if you want to install the default blocklist, yes we do. But we will be adding more later.
If you chose not to assign a static IP address during set up, I’ve included instructions on how to manually set it in the terminal. If you have already assigned a static IP, continue to Router Configuration. Otherwise, continue with the prompts, enable the admin UI panel, and take note of the generated password, let’s go ahead and update this.
Change Pi Hole Default Password
To update your pi holes admin password, run this command in the terminal:
pihole -a -p <password>
Set Static IP Address via terminal
First let’s determine what our currently assigned IP address is.
Run this command in terminal:
ip a
It should return output similar to this:
1: lo: <LOOPBACK,UP,LOWER_UP> mtu 65536 qdisc noqueue state UNKNOWN group default qlen 1000
    link/loopback 00:00:00:00:00:00 brd 00:00:00:00:00:00
    inet 127.0.0.1/8 scope host lo
       valid_lft forever preferred_lft forever
    inet6 ::1/128 scope host
       valid_lft forever preferred_lft forever
2: eth0: <BROAD2CAST,MULTICAST,UP,LOWER_UP> mtu 1500 qdisc mq state UP group default qlen 1000
    link/ether ff:ff:ff:ff:ff:ff brd ff:ff:ff:ff:ff:ff
    inet 192.168.0.20/24 brd 192.168.0.255 scope global noprefixroute eth0
       valid_lft forever preferred_lft forever
Under the ethernet interface (eth0) we see the assigned IP address is 192.168.0.20 on a /24 network. Note this down.
If you don’t know your routers IP address it is typically the lowest non zero number on your subnet. So if my IP address is 192.168.0.20, my routers IP address will be 192.168.0.1.
You can confirm this by running:
ip route | grep default
The output should look something like this:
default via 192.168.0.1 dev eth0
For simplicity’s sake I’ll be statically assigning the IP address the DHCP server handed out.
To do this we will edit the dhcpd.conf file, in terminal run:
sudo nano /etc/dhcpcd.conf
Add this to the end of the file, insert your IP Pi Hole’s and Router’s IP address without the <>, nameserver we will use CloudFlare’s (1.1.1.1) for now.
interface eth0
        static ip_address=<IP_ADDRESS>
        static routers=<ROUTER_IP>
        static domain_name_servers=1.1.1.1
How to Configure Your Router for Pi Hole
Next we need to enable pi hole’s services by pointing our router to the IP of the Pi Hole, there are generally 3 methods to enable pi holes blocking services but we will focus on the easiest and most popular method. This involves logging into your routers admin panel and changing your the DNS server your router is pointed to.
This part varies greatly as there are many different kinds of routers out there. I will be showing you how to do it using my TP Link Archer AX1500 router.
Log in to your router (192.168.0.1)
Click on settings > LAN > DNS Servers, enter the IP address of your pi hole in the first entry and leave the 2nd one blank (if applicable). You want your router to pass DNS traffic ONLY to your pi hole, otherwise you are not fully protected.
After you save you will have to renew the DHCP lease of any connected device before it will show up in the pi hole control panel.
Admin Panel
Once Pi Hole has finished installing and you have configured your router to point to the pihole open a browser and go to “http://<pihole_IP_address>/admin” , replace <pihole_IP_address> with your pi holes IP address. Log in with your new password.
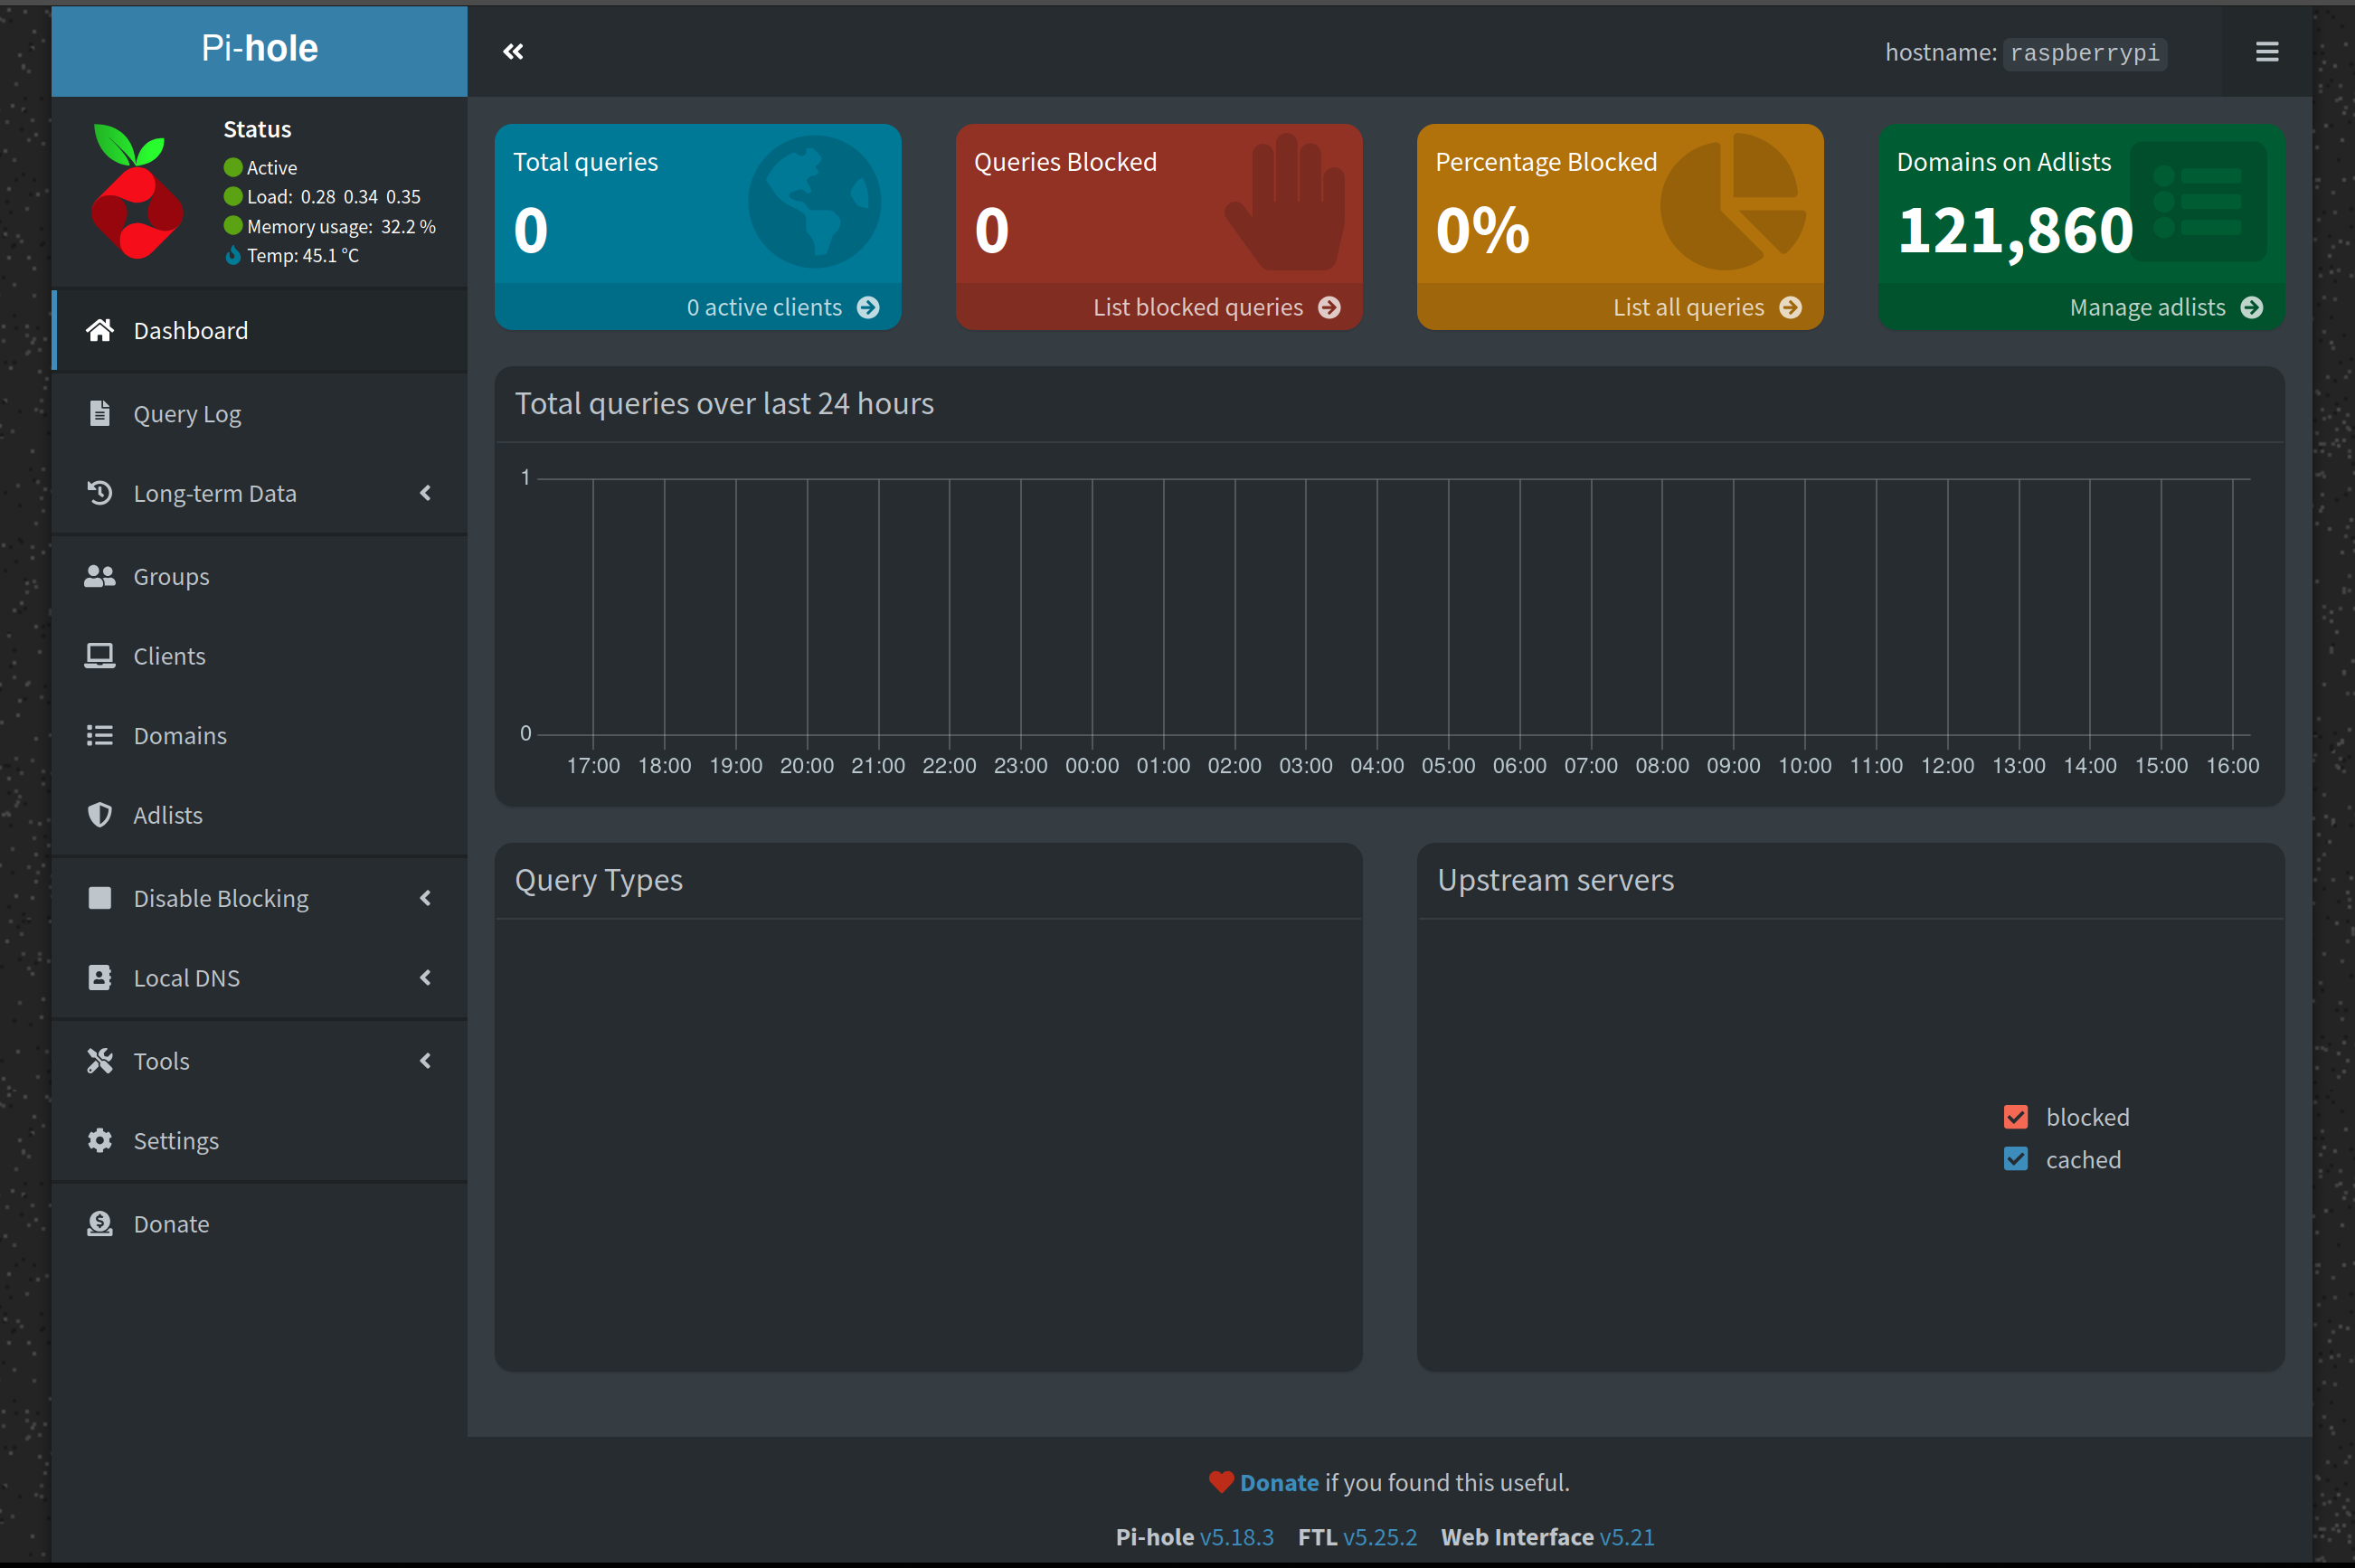
You should start to see some activity on the graph as trackers are blocked and DNS queries are forwarded.
Congratulations! You have installed and configured Pi Hole. Now is a good time to familiarize yourself with the menu. Check out Part 2: Advanced Configuration.
TL;DR: How to navigate the Admin panel, How to white/blacklist domains, How to add custom blocklists, adding Pi hole to /etc/hosts, and Pi Hole settings overview.
Part 2: Pi Hole Advanced Configuration
Welcome back, in the previous section we flashed RPI OS to our SD Card or USB drive, ran the Pi Hole installation script, set a static IP address, and logged into the Pi Hole Admin panel. In this next section, we will go more in depth into Pi Holes settings menu, as well as the (more important) options on the sidebar.
Navigating Pi Holes Admin Panel
Query Log
On the sidebar to the left, click on “Query Log”. This will show you your most recent DNS queries, along with the date/time, the type of query, the domain, client, and the status of query.
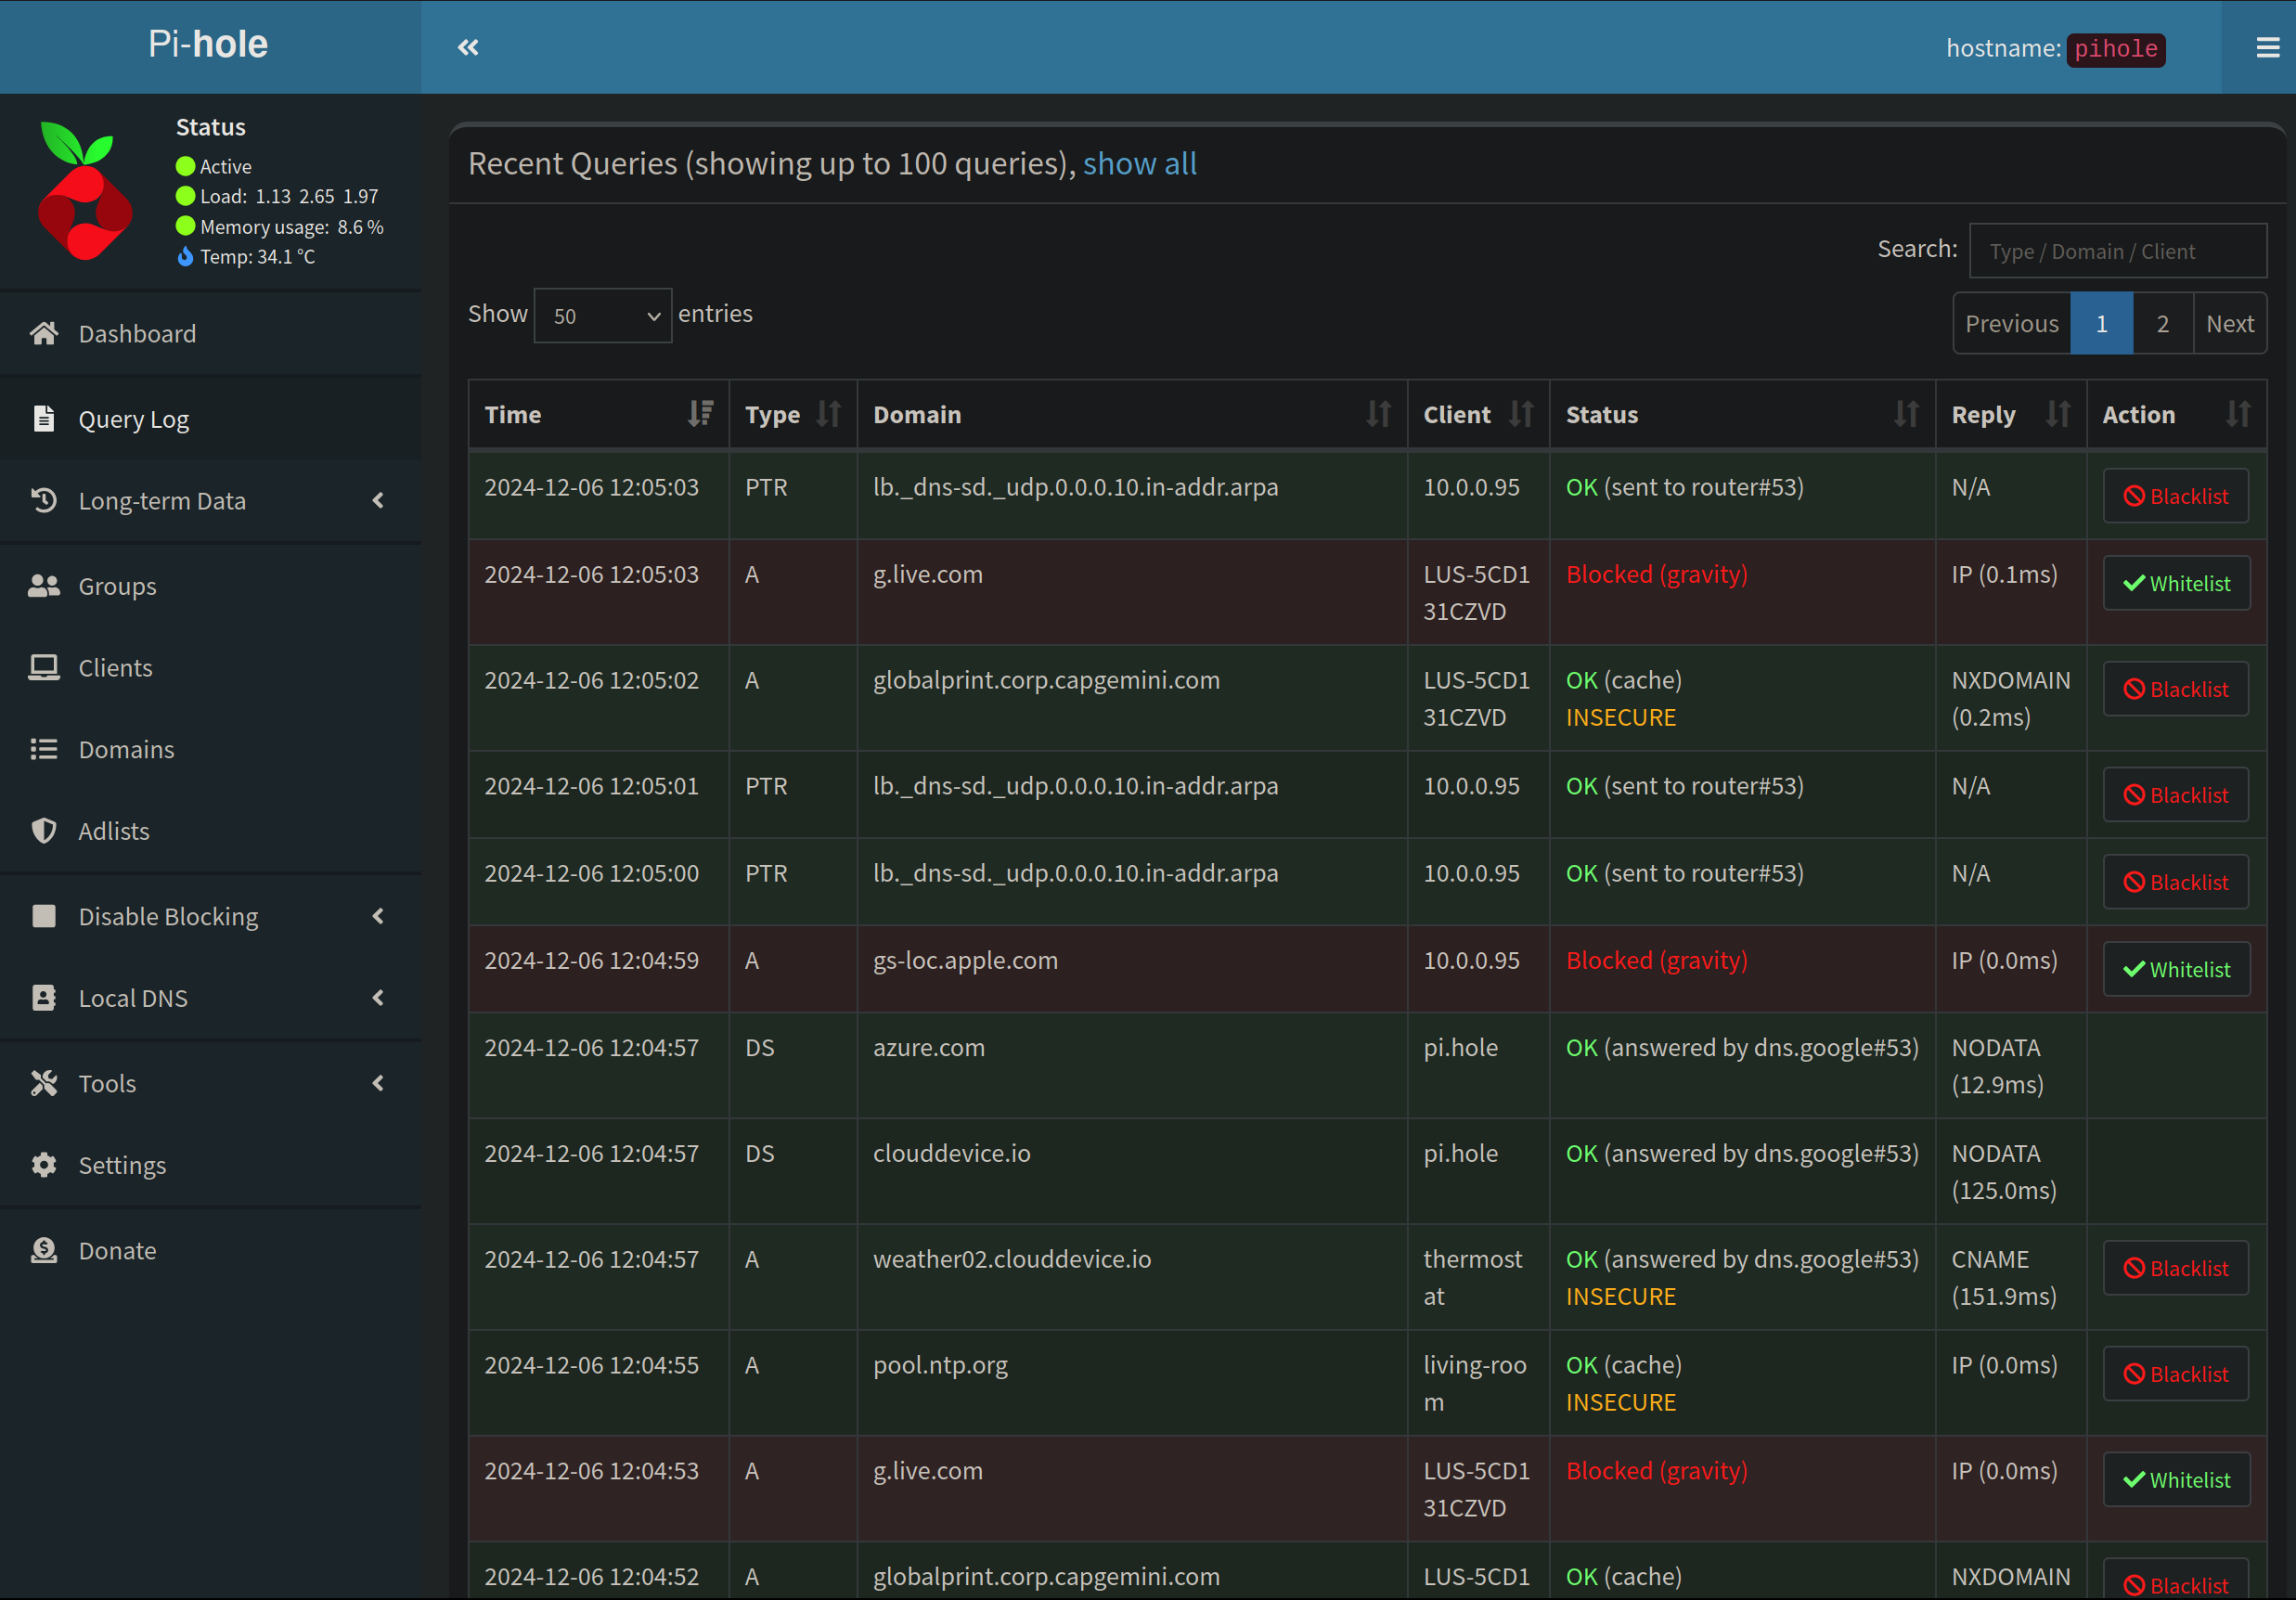
You will also notice some buttons to the right of each query. These are so you can quickly blacklist/whitelist a specific query.
You may notice a couple of queries are being blocked, Pi Hole comes with a pre installed blocklist, but lets beef ours up a little more.
Long-term Data View
Used to view your query log over a specified time. Pretty self explanatory.
Pi Hole Domain/Adlist Management
Adding a domain to black/whitelist
Click on “Domains” on the left hand sidebar,
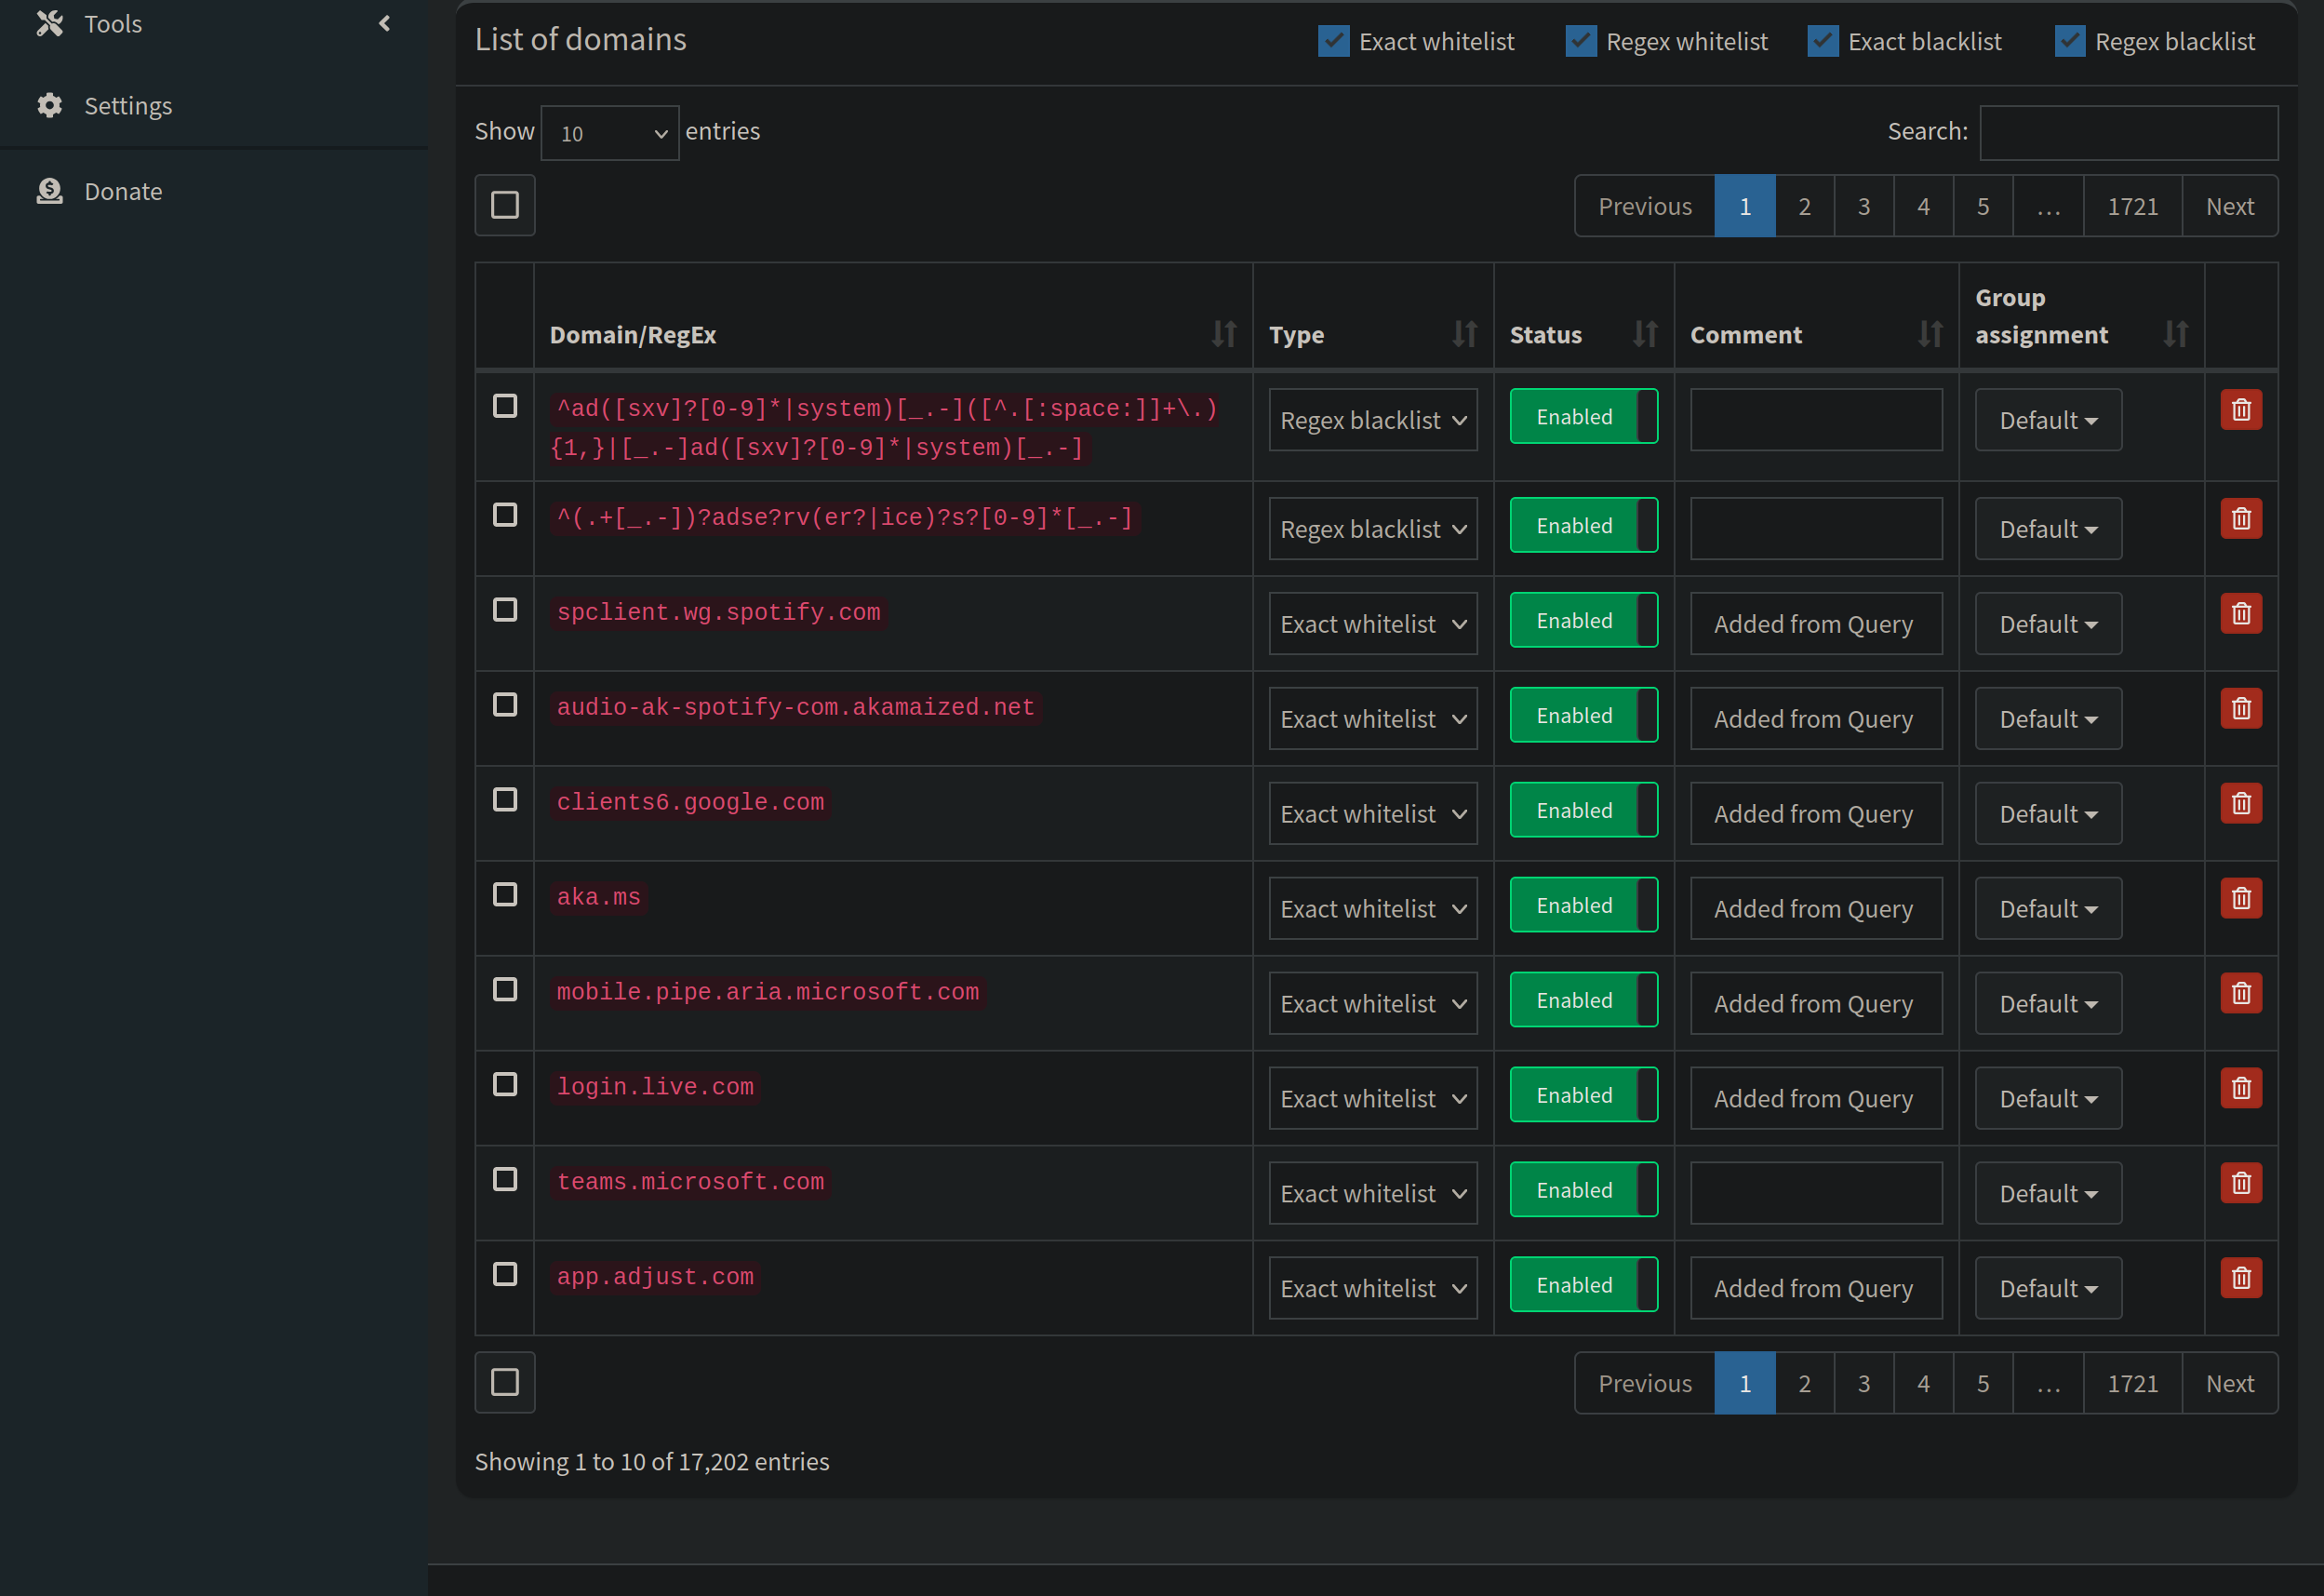
When you whitelist/blacklist a domain, it will show up in this list. As you can see over the years I have added quite a few blacklisted domains. This offers you more granular control in allowing or blocking specific domains.
“But what if I want to block malware, ads, cryptominers, those have TONS of domains!”
How to add a custom blocklist to Pi Hole
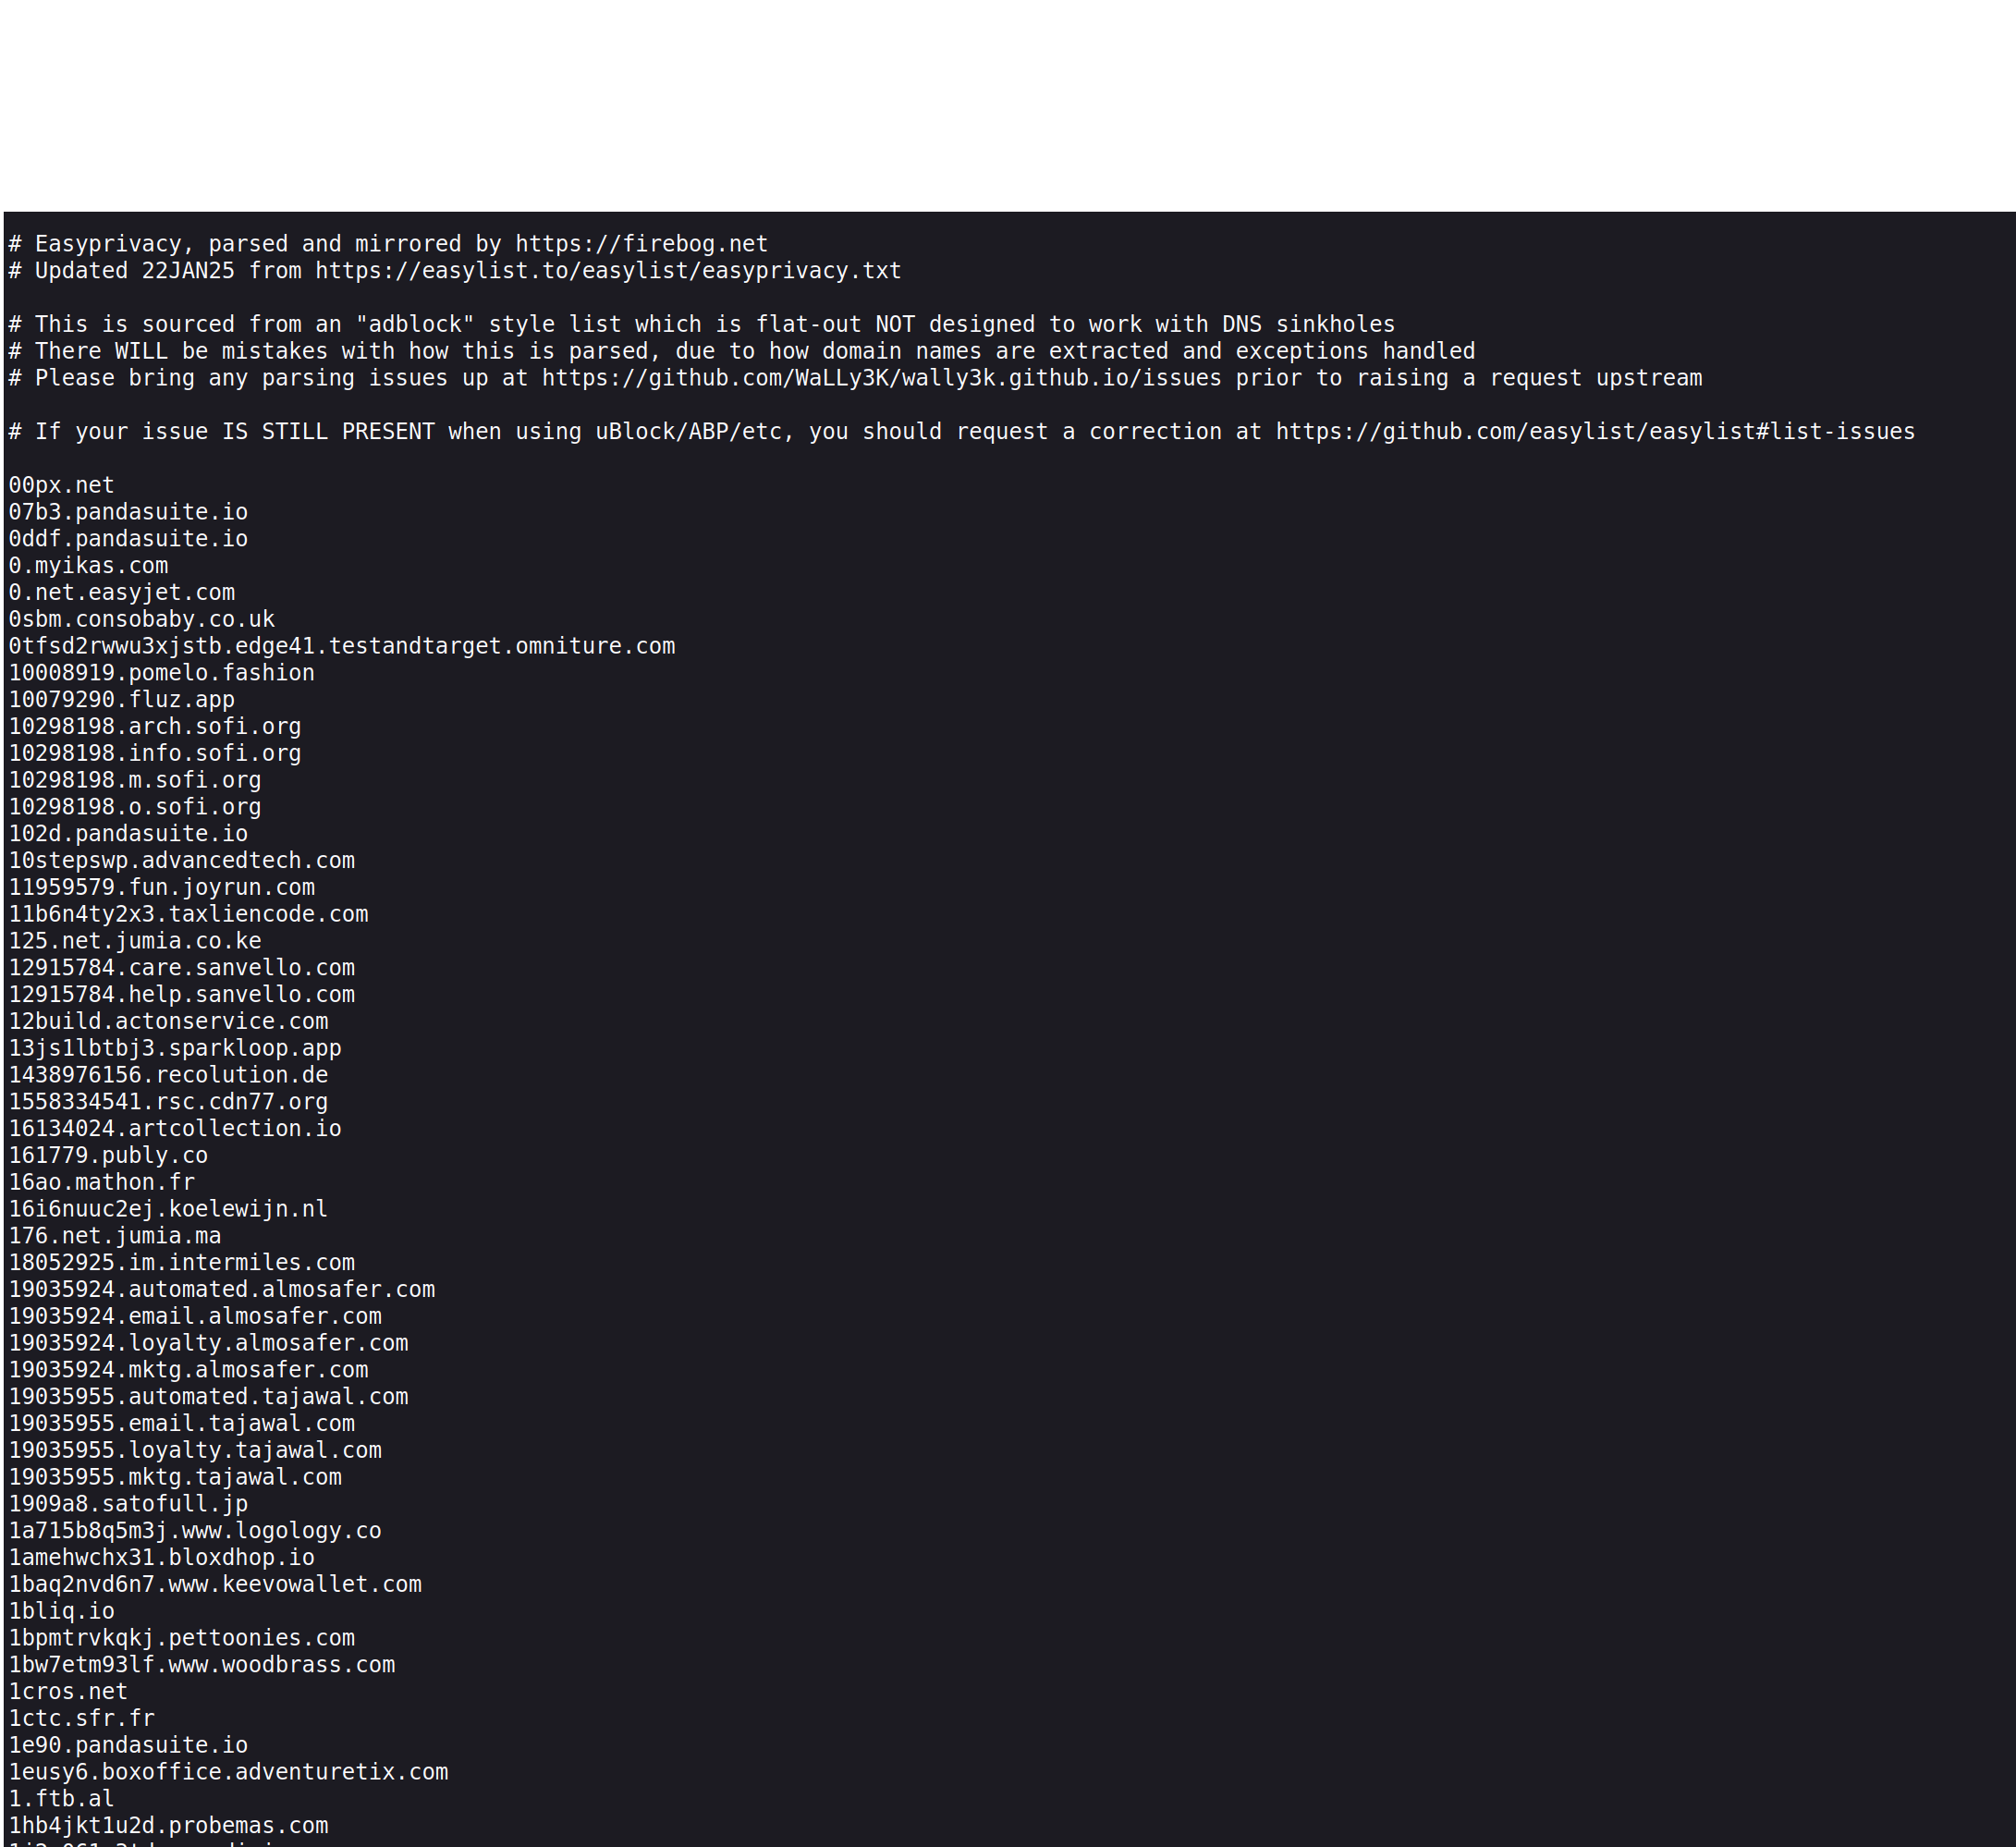
Let’s say you found the URL to a block list you want to add (Here is a link to firebog’sblocklist collection to get you started). Open the link first to make sure it is a a raw text file, it would look like this:
Then, click on “Adlists” on the left hand side, here is where you will manage your blocklists.There are tons of places to find block lists, but a rule to keep in mind is that more isn’t always better, if you add too many and get too aggressive with your blocklists, you will inadvertently end up blocking some necessary services.
What you see:
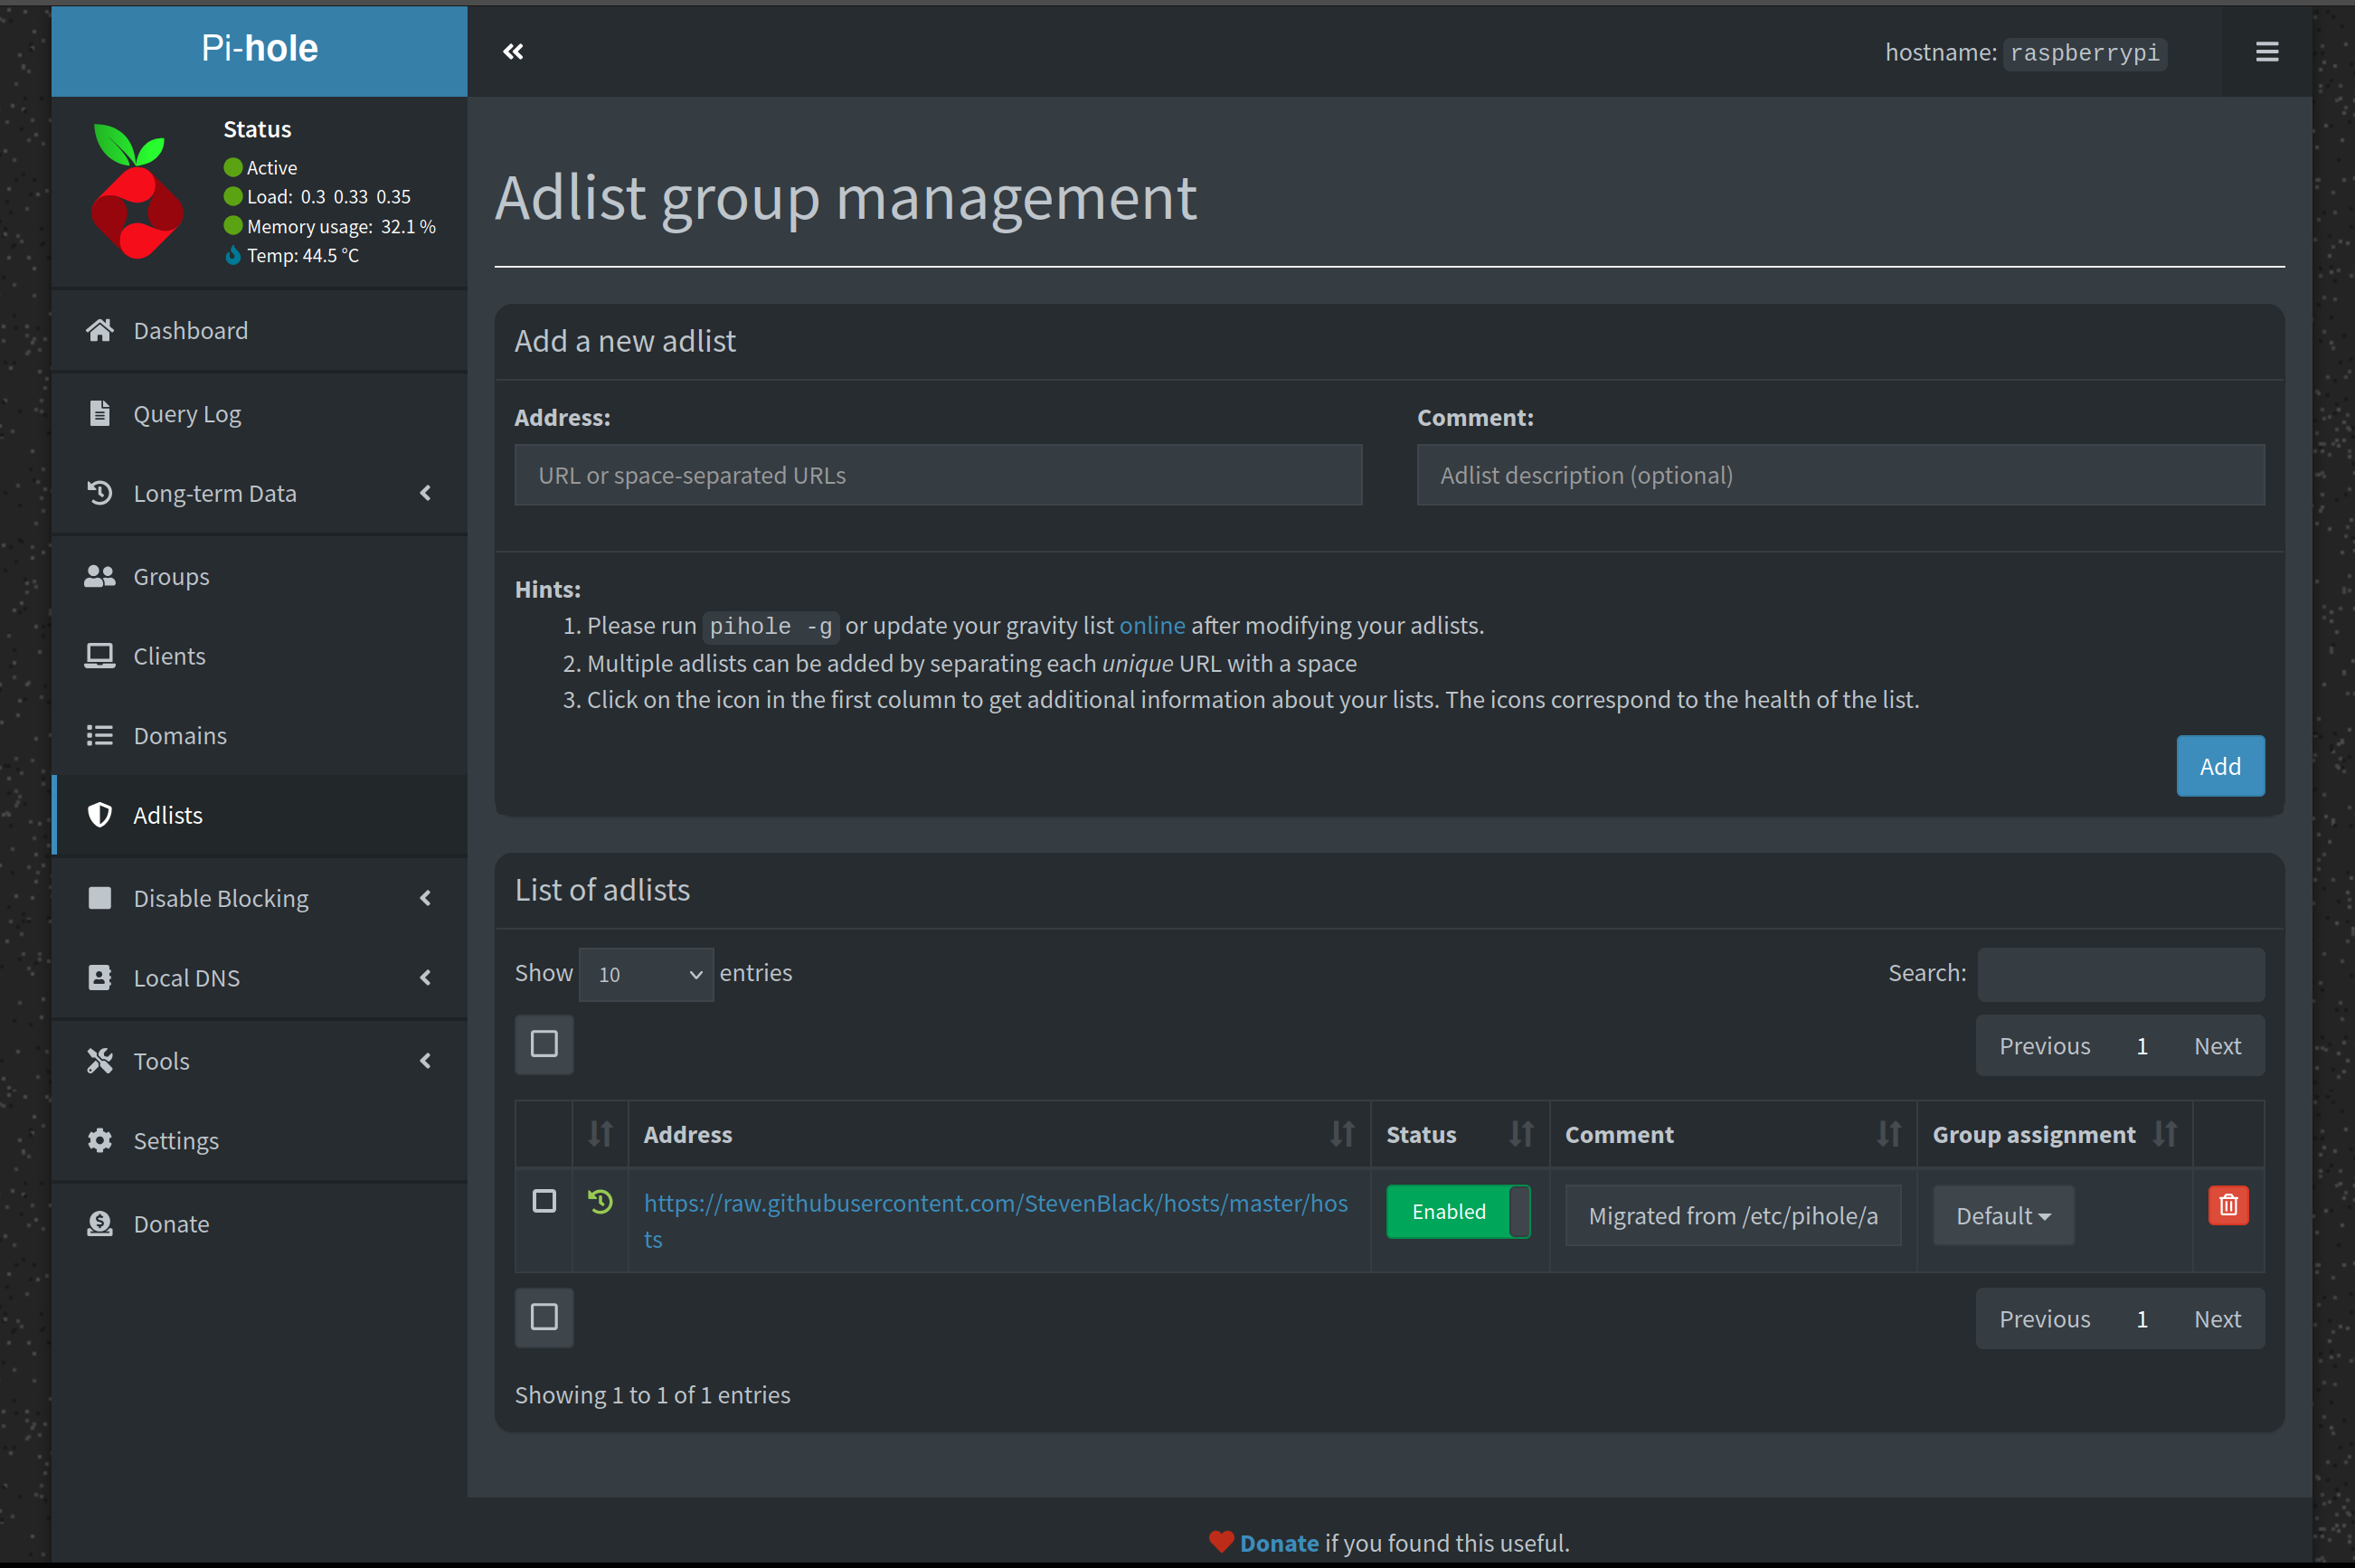
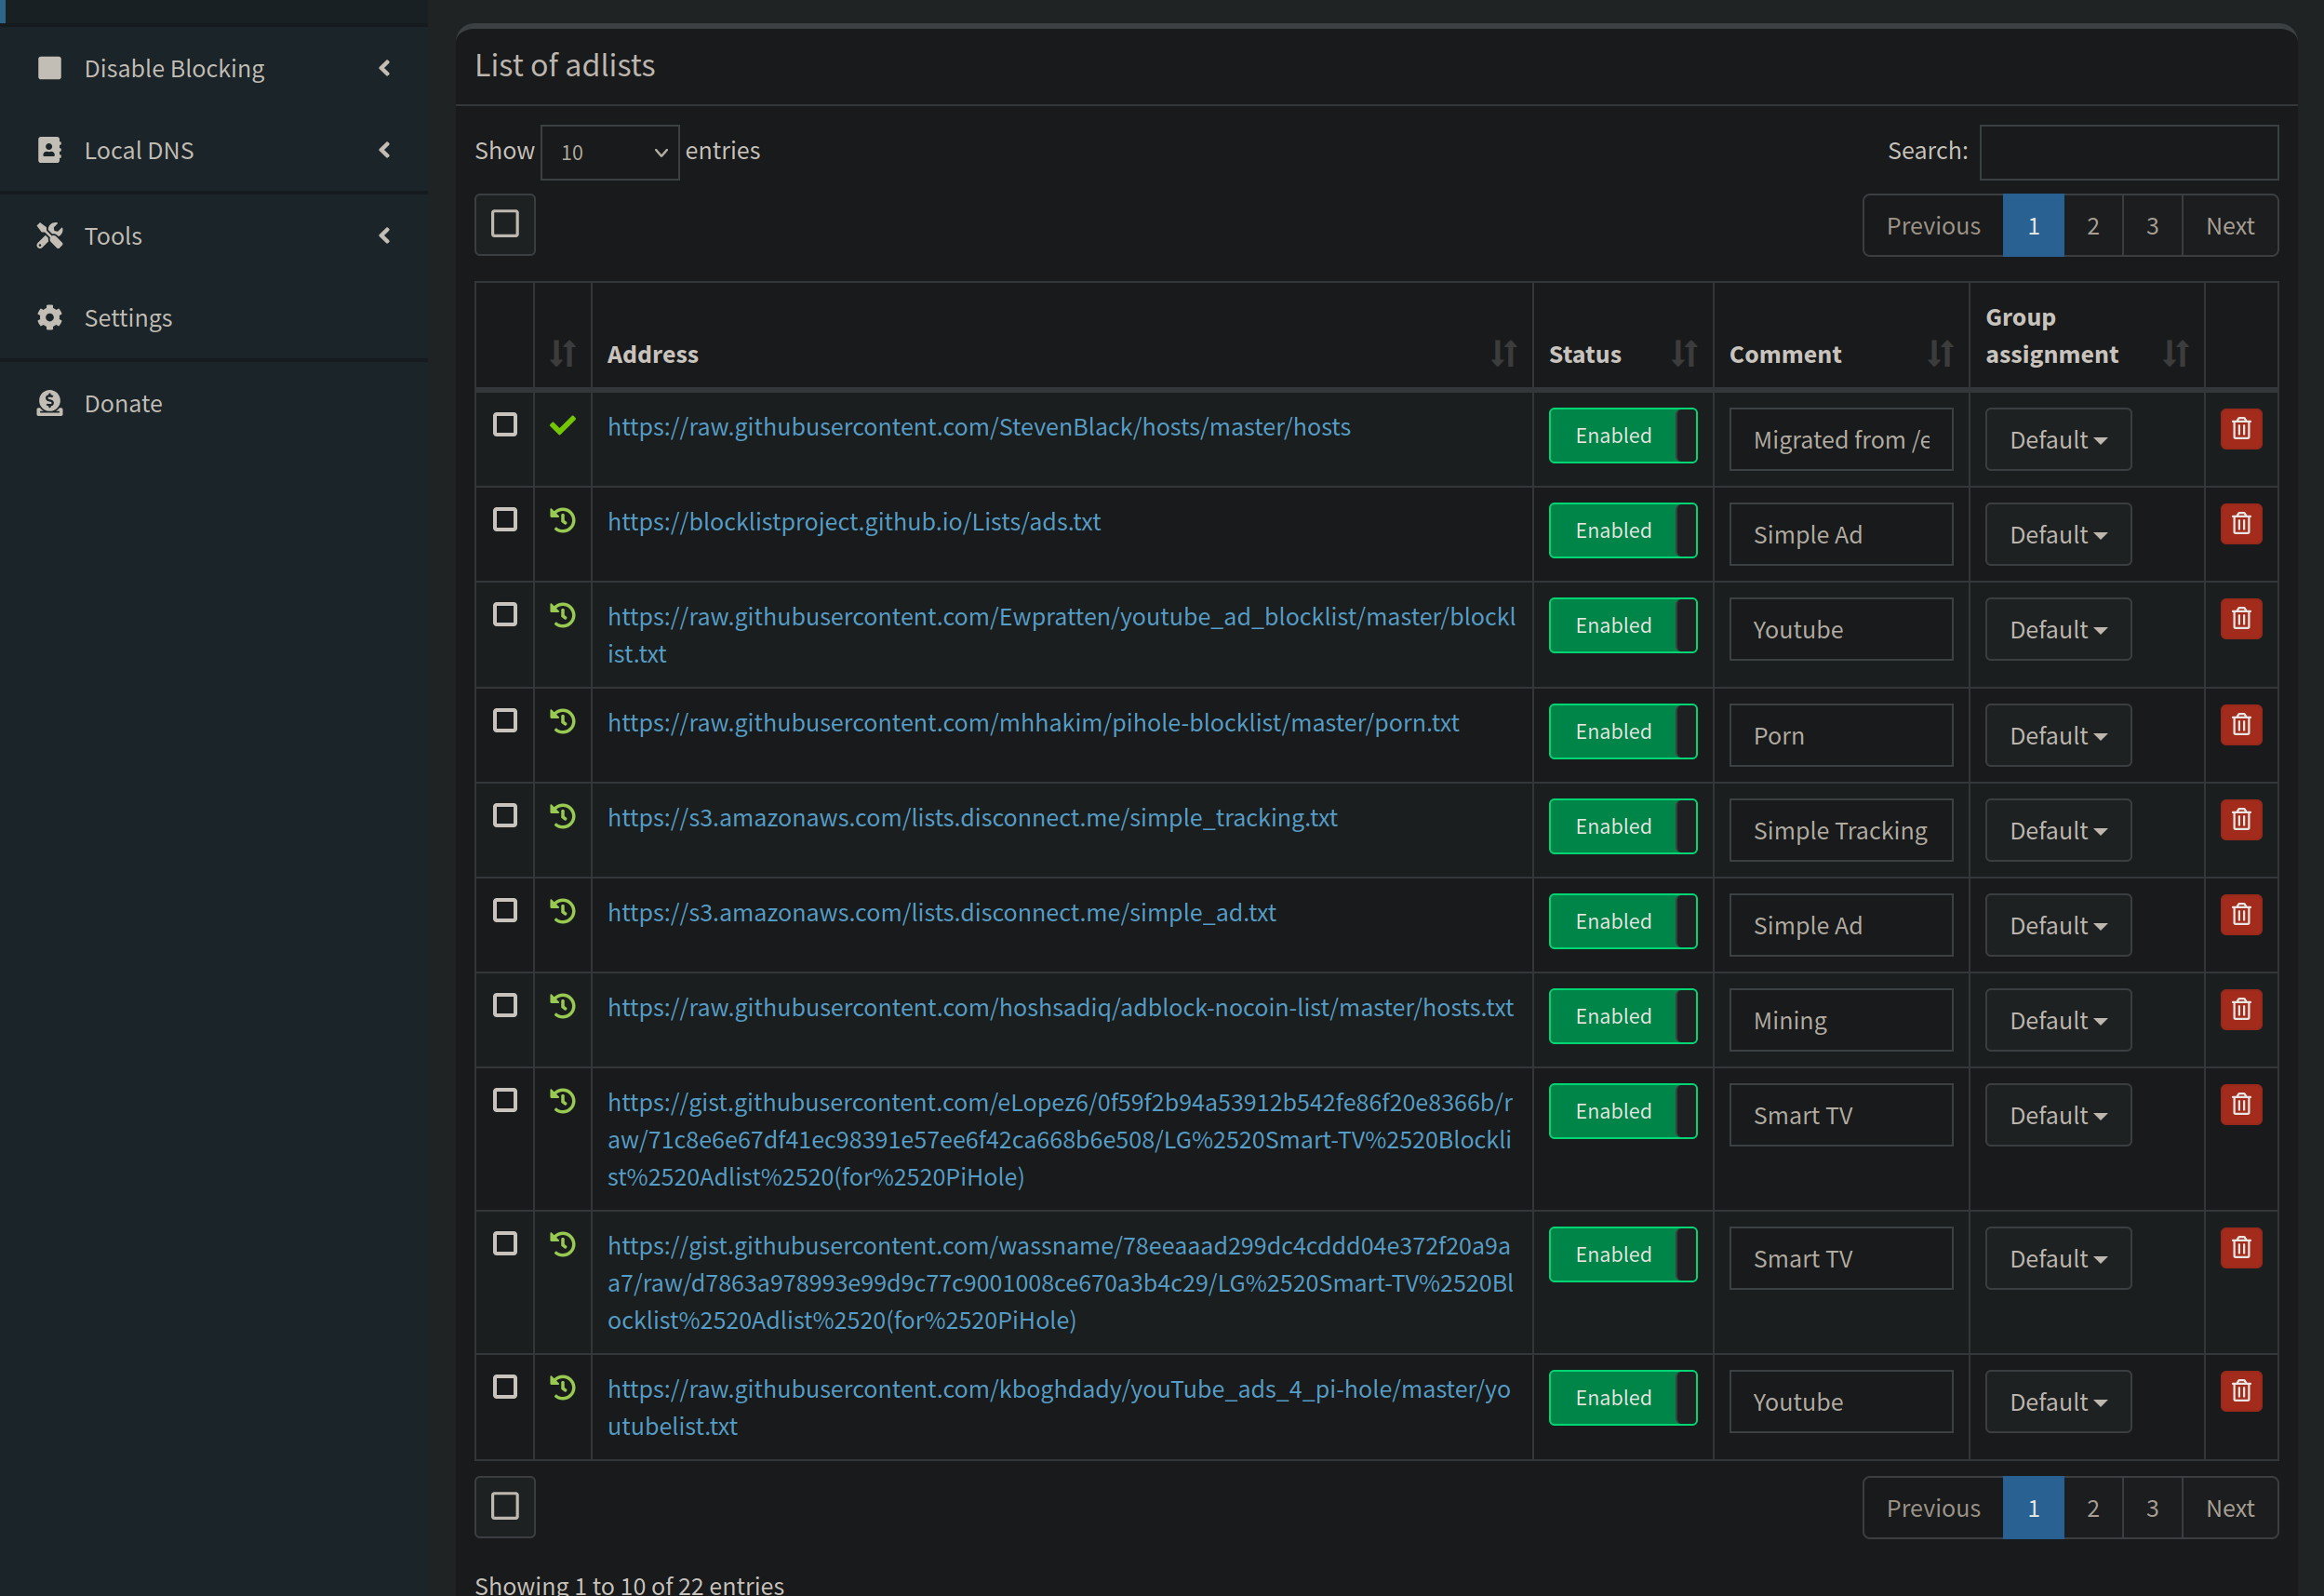
Paste the URL into the “Address” field at the top, you can include a comment to describe the type of blocklist you are importing. Click the “Add” button. Now we need to update our gravity.db to include our newly added list. You can do this by clicking “Tools> Update Gravity” or running this in the terminal:
pihole -g
Recommended Pi Hole Blocklists for 2025
Here is a list of some blocklists and what sort of things they block:
- 🚀 Ad-Free Internet (Basic) → Firebog’s
ticklist - 🔥 Aggressive Ad-Blocking → Energized Ultimate
- 🛡 Malware & Phishing Protection → OISD Full
- ⛔ Block Cryptominers → NoCoin List
Moving down the left side bar, we also have “Groups” and “Clients”. To be honest, I don’t think I’ve used these in the 4 years I’ve used Pihole, I supposed if you have a lot of clients connecting you can organize them into groups, or identify them by IP or MAC address. I have most of my devices set with a static IP and/or a DHCP reservation based on MAC address, so these dont really apply to me.
Disable blocking - self explanatory, if you want to temporarily pause your Pi Holes blocking, you can do it here.
Local DNS - Review the note at the top: The order of locally defined DNS records is:
- The device’s host name and
pi.hole - Configured in a config file in
/etc/dnsmasq.d/ - Read from
/etc/hosts - Read from the “Local (custom) DNS” list (stored in
/etc/pihole/custom.list)
The same as adding hostnames to your /etc/hosts file, maps an IP to a hostname.
Then below that we have our “Tools” section. The main one you will use is the “Update Gravity”, the others are good for general debugging or troubleshooting, review logs, Pi Hole will attempt to self diagnose issues and will post these under “Pi Hole Diagnosis”.
Pi Hole Settings
I will briefly touch on each tab, but I would recommend digging into the documentation at some point. Gotta read to learn!
To make things a little easier on ourselves, let’s add our Pi Hole to our /etc/hosts file, that way we can refer to it by a hostname instead of an IP address.
echo '10.0.0.0 pihole >> /etc/hosts'
Replace the IP with your Pi Hole’s IP address.
Now when we visit the Admin panel in the web browser, we can just type ‘pihole/admin’ right into the address bar and it will take us there. Also works when we curl the API.
System
View version information, hardware statistics, cache statistics, flush the network table, flush logs, hard reboot (power cycle) the RPI, or straight up turn it off.

DNS
Modify upstream servers, add custom upstream servers, modify interface settings. You wont spend much time in here unless you are having problems with the upstream server.

What is the Best DNS Upstream server to use?
| DNS Provider | Pros | Cons |
|---|---|---|
| Cloudflare (1.1.1.1) | Fast, Privacy-Focused | Blocks very little malware |
| Google (8.8.8.8) | Reliable, Global Coverage | Not privacy-friendly |
| Quad9 (9.9.9.9) | Built-in Malware Protection | Slightly Slower |
DHCP
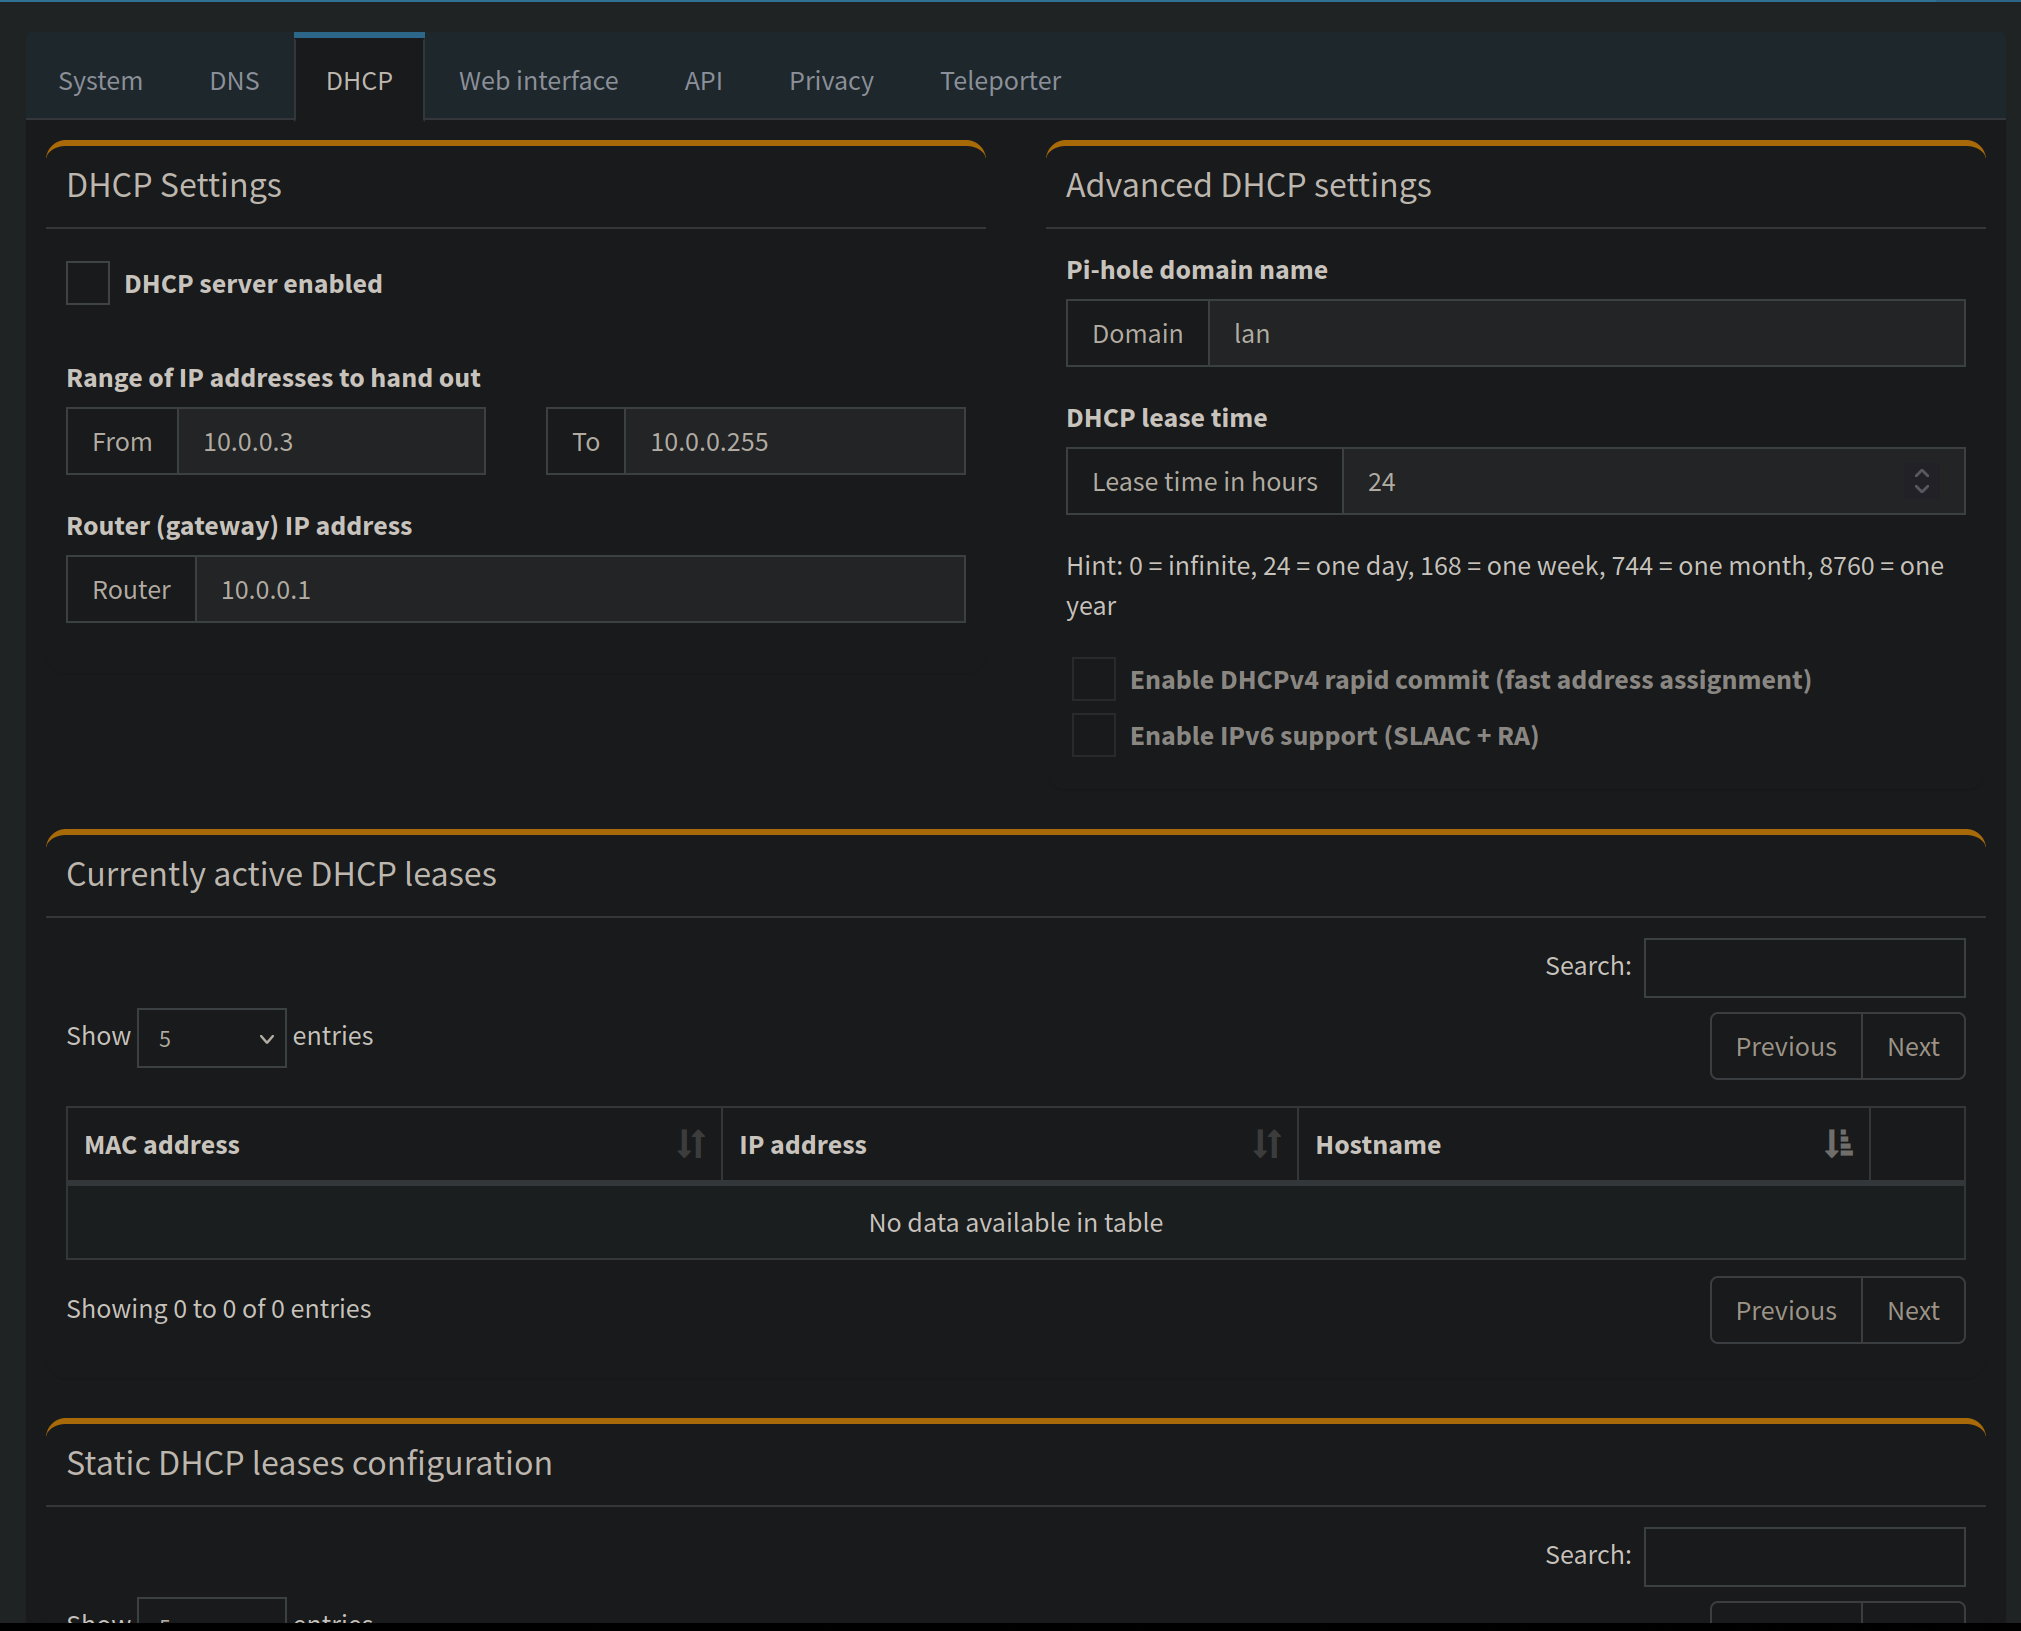
Pi Hole has the option to also be your DHCP server, so instead of your router handing out IP address and DHCP leases, your Pi Hole would be in charge of that. “But TechTrev, why would I want the DHCP server to also run on Pi hole?”. I am so glad you asked, here are several reasons.
- See individual client queries
- More granular DHCP options
- Improved network performance
- Router limitation workarounds
- More verbose logging
- Better security
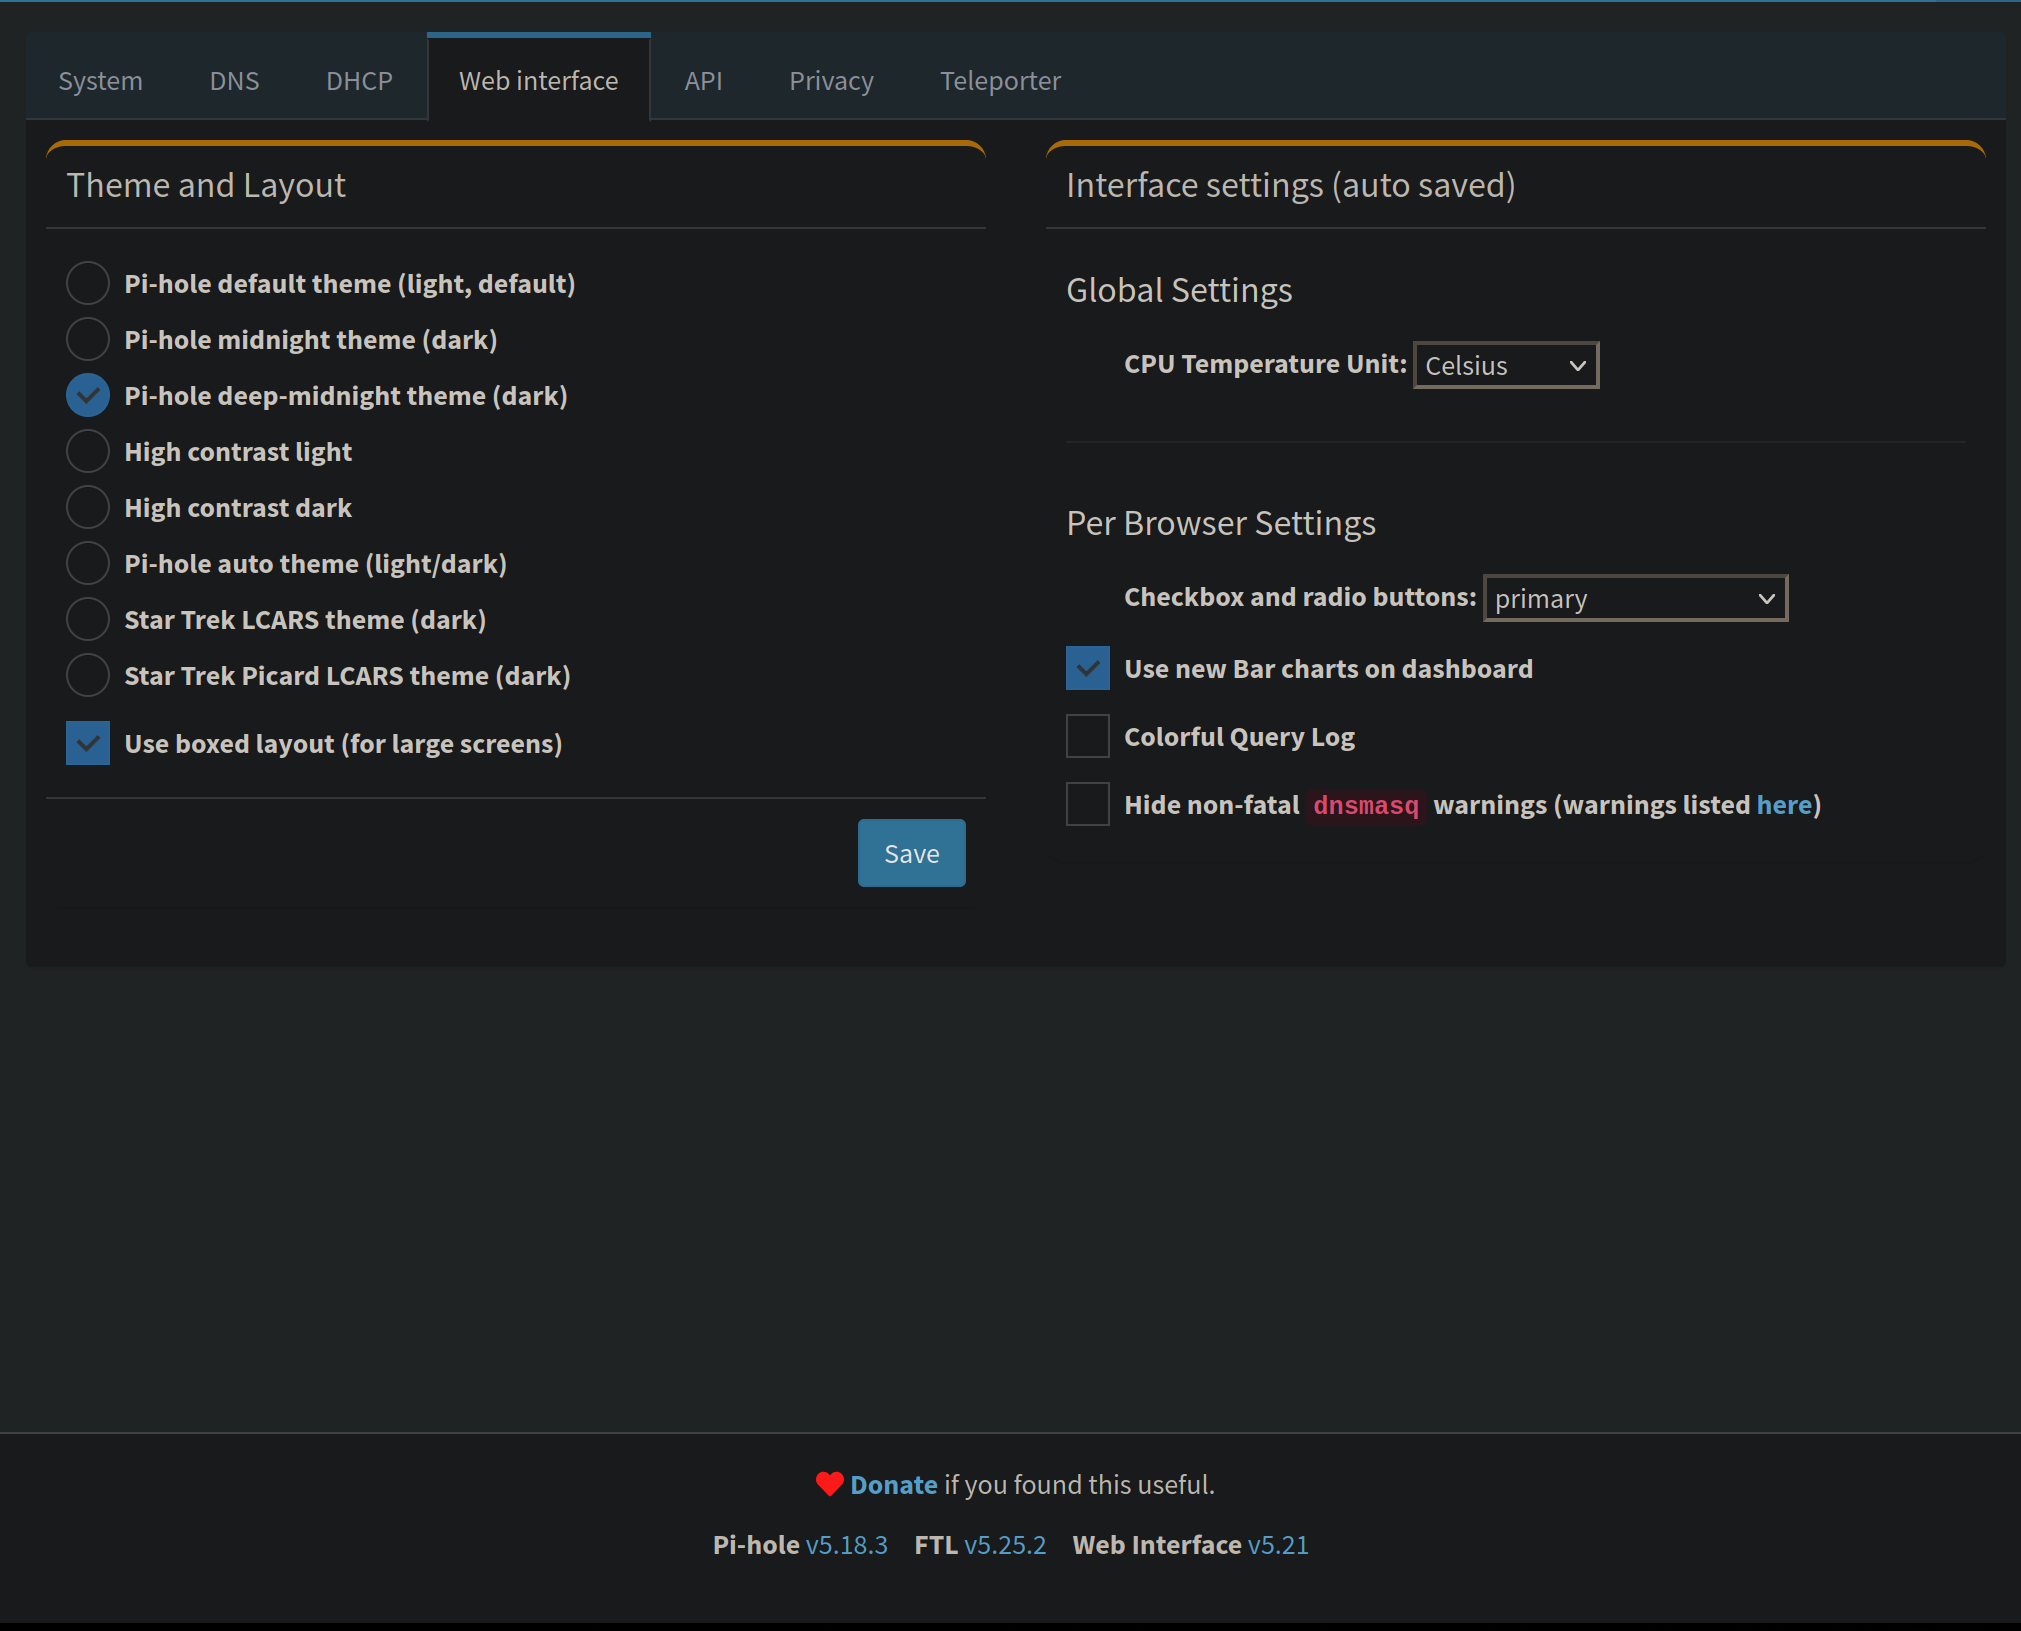
Web Interface
Choose your theme/layout, CPU temp unit, and per browser settings like the color of the check boxes, colorful query log, and hide dnsmasq warnings.
API
You can generate an API token to interact with Pi Holes built in API. If you don’t know what an API is, chances are you aren’t ready to use this quite yet. For those who would like to interact with the API, the below comment is from one of RPI’s developers.
To use most API endpoints you need to append &auth=<YOURAPITOKEN> to the URL, like this:
http://pihole/admin/api.php?summaryRaw&auth=1234abcd1234abcd12..
Click “Show API token”, make sure to keep this safe and secret. Most definitely heed the warning about not letting anyone scan or otherwise have access to it. Alternatively, you can find the API key in:
/etc/pihole/setupVars.conf
Look for the line:
WEBPASSWORD=<api_key>
When you visit /api.php in a web browser, it outputs all of your stats in JSON format.
You can also interact with the api via a terminal, making for possiblity to write scripts that could pull the data and render your own homemade dashboard for example. Or create a custom card for Home Assistant:
curl -s http://pihole/admin/api.pip?summaryRaw
A dirty little trick for quick authentication:
/admin/api.php?summaryRaw&auth=$(cat /etc/pihole/setupVars.conf | grep WEBPASSWORD | cut -d'=' -f2)"
cats out the setupVars.conf file, searches for the line WEBPASSWORD, and strips everything out of that line that isnt the key.
There is scarce and scattered documentation on the API, you could map it out and build an automation in Home Assistant, for example. I think there is already a Pi Hole Integration in Home Assistant, but could make for a fun project.
Privacy
Set the privacy level of your DNS queries, if you are unsure what to set it at then leave as is.
Teleporter
Back up or restore your Pi Hole configuration, can choose what to back up. Saves as a compressed file. It is good practice to back up at least once a month or before or after any major changes.
Conclusion
That wraps up the core steps for installing and configuring Pi-hole v5 , from getting your Raspberry Pi set up to fine-tuning your blocklists and exploring the admin panel.
Even though v5 is now considered obsolete with the release of Pi-hole v6, this guide should still give you a solid understanding of how Pi-hole works under the hood, and the concepts here will carry over to the new version.
Pi-hole remains one of the most effective and versatile tools for network-wide ad blocking, privacy protection, and DNS-level control. Whether you’re looking to clean up your browsing experience, lock down IoT devices, or simply learn more about DNS and network traffic, it’s a fantastic project for both beginners and seasoned tinkerers.
I’ll be publishing an updated guide for Pi-hole v6 soon, covering the new installation process, updated features, and changes in configuration, so check back if you’re planning to start fresh on the latest release.
Until then, happy blocking!
Thanks for reading,
-Trev